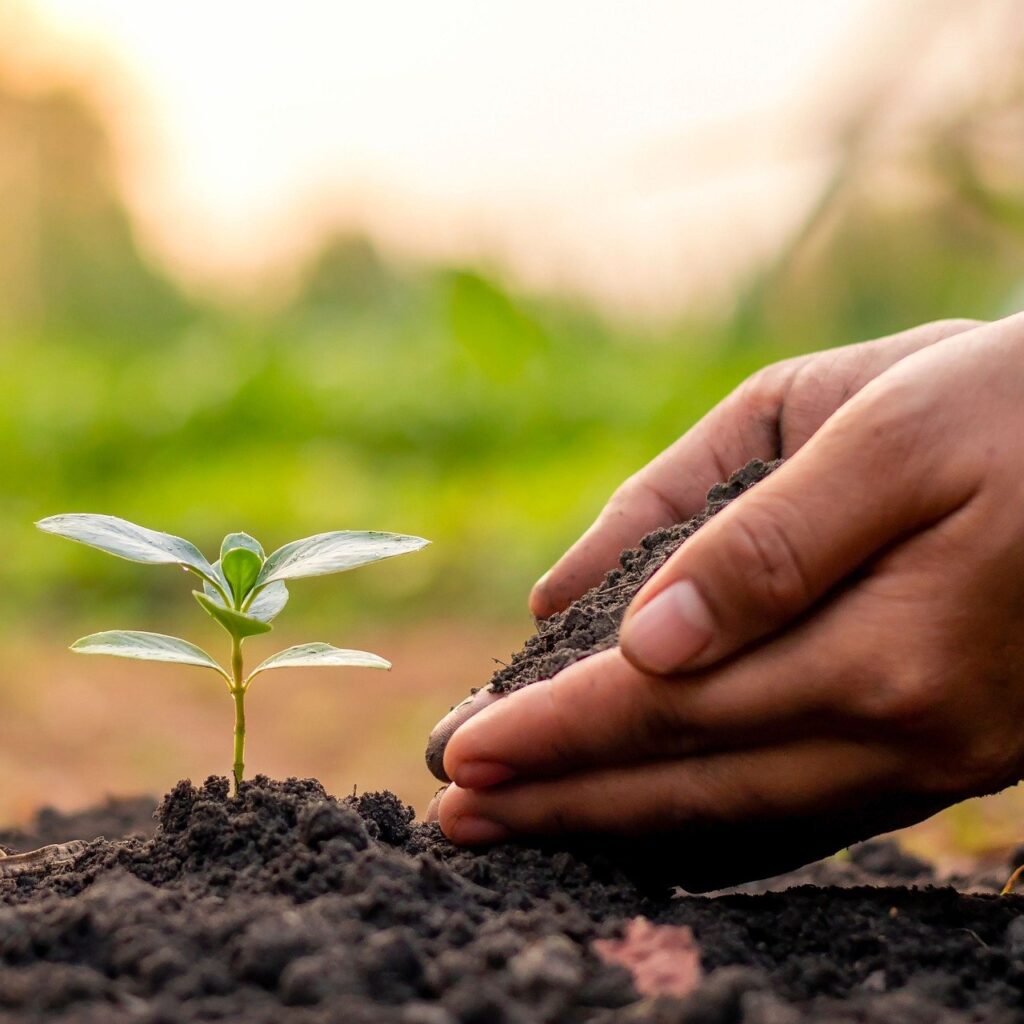
Most plants grown for long periods, such as annual plants grown in pots, often suffer from air deprivation. This happens when the soil doesn’t let enough air into the roots. This can lead to poor plant growth and even death in severe cases.
Soil becomes poorly aerated when water and nutrients are added to the soil, causing it to become compacted over time. As the soil becomes more compacted, it becomes increasingly difficult for air to penetrate, leading to a lack of oxygen for the roots.
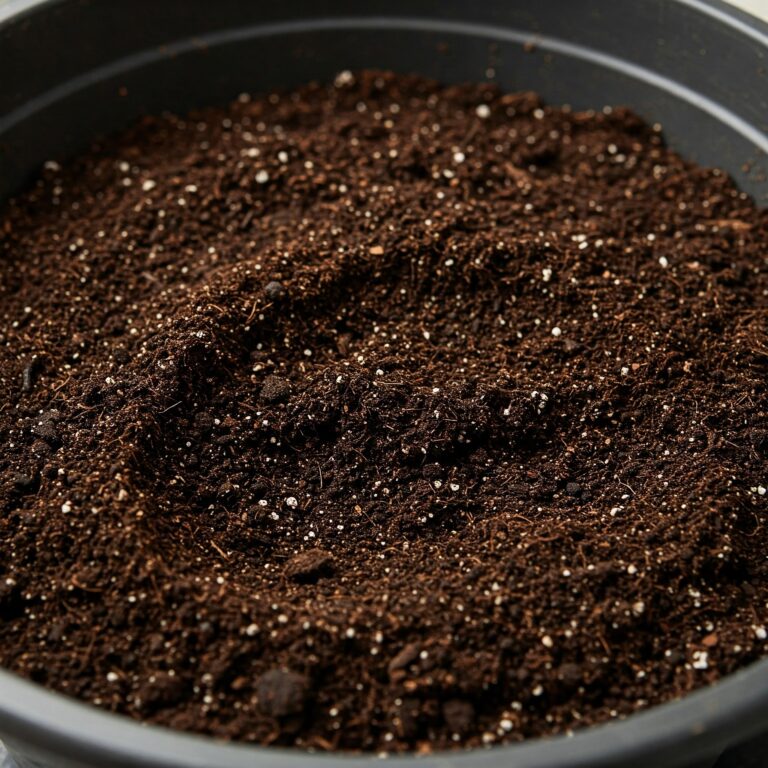
Aerating the soil in a potted plant is essential in ensuring its healthy growth and longevity. Aeration is the process of creating air pockets in the soil, which allows oxygen to flow to the roots and enables the roots to absorb water and nutrients more efficiently. Several methods to aerate the soil in potted plants, including using a fork, chopstick, or a specialized aerator tool.
This guide will explore various methods for aerating the soil in a potted plant to ensure healthy plant growth.
What is soil aeration?
Soil aeration is the process of improving the soil structure by creating air pockets within the soil. In other words, it is the practice of improving the air exchange between the soil and the atmosphere.
When soil becomes compacted, it restricts the flow of air, water, and nutrients to plant roots, which can result in poor plant growth and health. Soil aeration can be achieved through various methods, such as using a garden fork to poke holes in the soil or using an aerator machine to create deeper and more uniform holes.
Aeration allows oxygen to reach the roots, which helps them to absorb water and nutrients more efficiently. Additionally, soil aeration can help break up compacted soil, allowing for better root growth and reducing the likelihood of soil erosion.
What are the benefits of soil aeration in potted plants?
Because air is essential for plant growth, improving soil aeration can benefit your plants and the soil. Here are some of the benefits of soil aeration in potted plants.
- Improved nutrient uptake: Aerating the soil in potted plants allows water and nutrients to penetrate the soil more quickly, making it easier for plant roots to absorb these vital nutrients.
- Enhanced root growth: Aeration helps to create air pockets within the soil, which promotes healthy root growth and development.
- Prevention of soil compaction: Over time, soil in potted plants can become compacted, making it difficult for plant roots to grow and thrive. Aeration helps to prevent soil compaction, allowing for better root growth and overall plant health.
- Improved water drainage: Soil aeration helps to improve water drainage in potted plants, preventing waterlogging and root rot.
- Increased oxygen availability: Aerating the soil in potted plants allows for increased oxygen availability to the roots, promoting healthy plant growth and development.
How to aerate the soil in a potted plant.
Soil aeration can be achieved through various methods, such as mechanical aeration, natural aeration, and chemical aeration. These methods include;
- Using a fork
- Using a chopstick
- Using an aerator tool
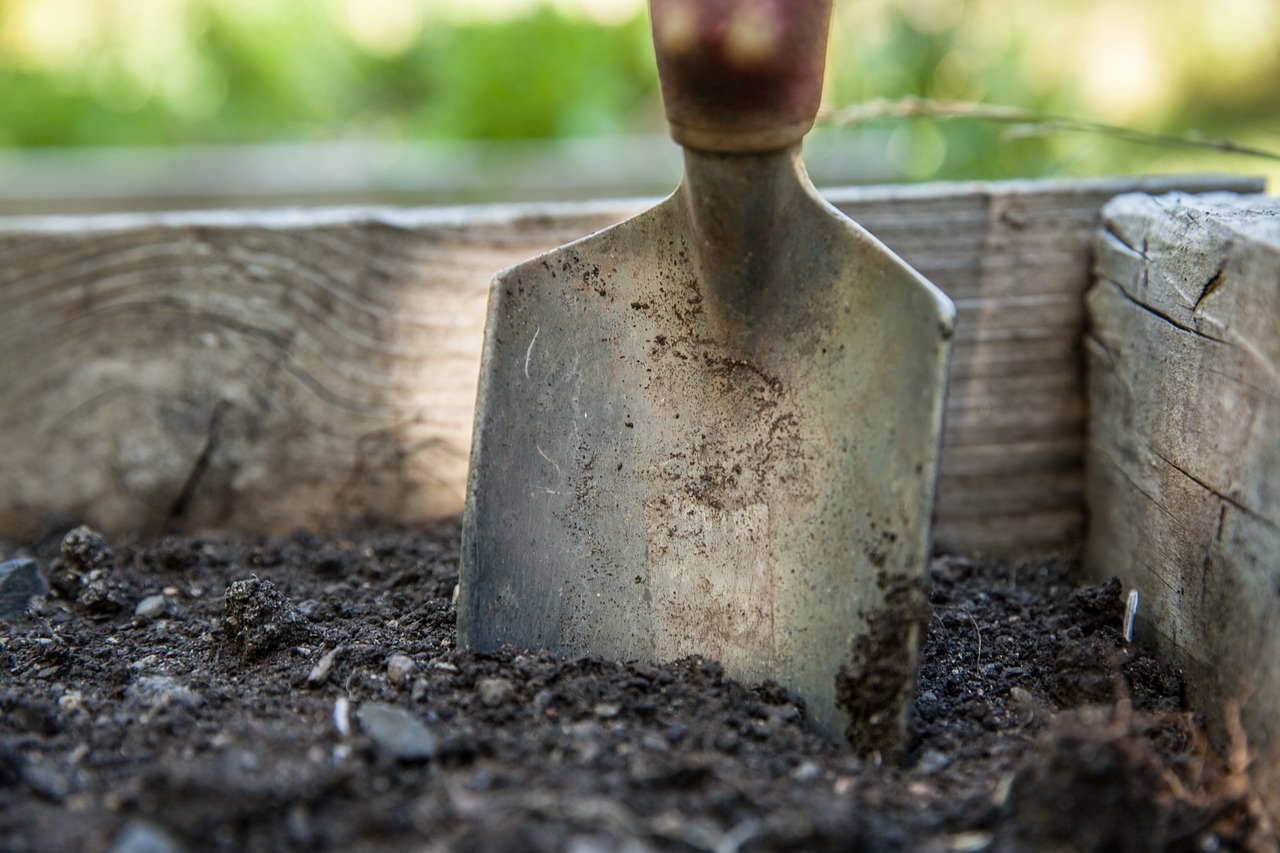
Using a fork/chopstick.
Here’s how to do it:
- First, water the plant thoroughly. This will help to moisten the soil and make it easier to penetrate with the fork or chopstick.
- Next, take a garden fork/chopstick and gently poke it into the soil at regular intervals, ensuring no plant roots are damaged. The fork/chopstick should be inserted about an inch into the soil.
- Move the fork/chopstick back and forth slightly to create air pockets in the soil. Continue this process until the entire surface area of the soil is aerated.
- Once you have finished aerating the soil, water the plant again to help settle the soil and promote better root growth.
- Repeat this process every few months, depending on the plant type and the soil condition.
When using this process to aerate the soil in a potted plant, ensure that you are gentle and avoid damaging any plant roots. If the soil is particularly compacted, it may be necessary to use a more aggressive method, such as an aerating tool or repotting the plant with fresh soil.
Using an aerating tool.
An aerator tool is designed to help you effectively and efficiently aerate the soil in potted plants. It consists of a pointed tool, which creates holes or slits in the soil, and a mechanism for creating air pockets.
To use an aerator tool, water the plant to ensure it is moist. Then insert the tool at about an inch into the soil at regular intervals. Then depress the plunger or lever on the tool to create air pockets in the soil. Move the tool around slightly to create deeper and more uniform aeration. Continue until the entire surface area of the soil is aerated.
An aerator tool is less likely to damage plant roots compared to using a fork or chopstick, which may inadvertently damage roots or cause soil to shift around.
Aerator tools come in various designs, including hand-held manual or motorized tools, making it easy to find an option that suits your needs and preferences. They are also typically affordable and easy to use, making them an excellent investment for plant enthusiasts who want to maintain healthy soil for their potted plants.
Check out Walensee Upgrade Twist Tiller and Colwelt Spike Lawn Aerator.
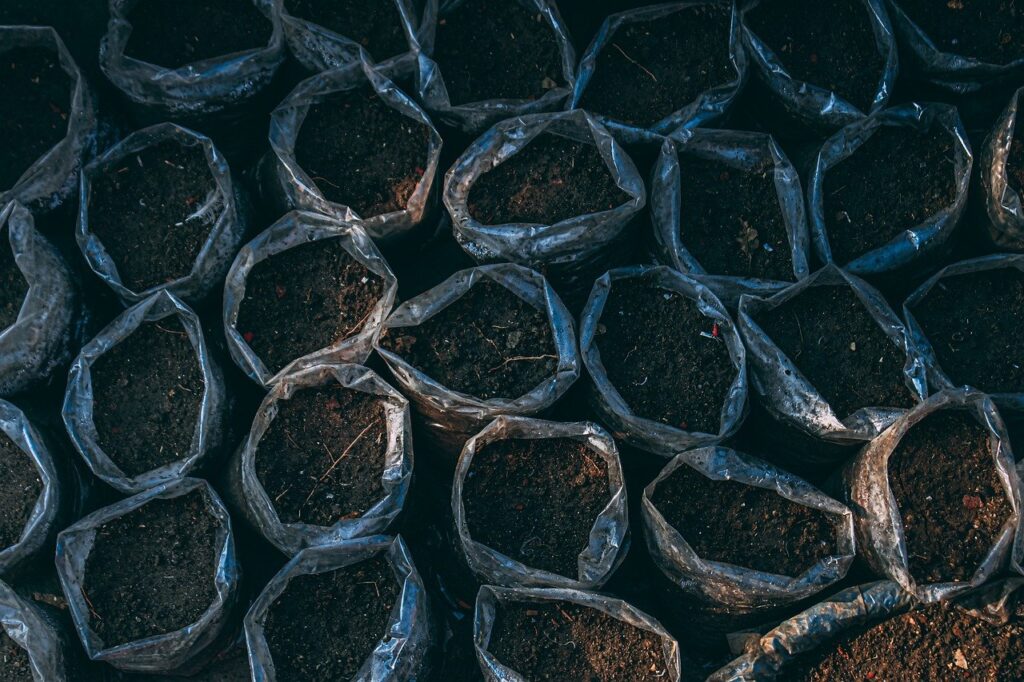
Repotting the plant
Repotting is a helpful technique for improving soil aeration because it involves replacing old soil with fresh soil, which is loose, and aerated soil. When soil becomes compacted, it can also reduce the ability of the soil to hold water, which can lead to the soil drying out too quickly or becoming waterlogged.
When you repot your plant, you remove the old soil, which may be depleted of nutrients and compacted, and replace it with fresh soil. The fresh soil is looser and less compacted, which allows air and water to flow more easily to the roots.
This helps create an environment where the roots can grow and absorb the nutrients they need to thrive.
Another way that repotting can improve soil aeration is by giving the roots more space to grow. When a plant has been growing in the same pot for a long time, the roots can become root-bound, meaning they have grown in a tight circle around the base of the pot. When roots become root-bound, they can’t spread out to access the necessary nutrients and water.
Using a soilless mix
A soilless mix can improve soil aeration in potted plants because these mixes are designed to be well-draining and free of heavy, compacted soil particles. Soilless mixes are typically made of materials such as peat moss, vermiculite, perlite, and/or coconut coir. These lightweight and porous materials allow for better air circulation and water drainage.
Here are the steps to using a soilless mix to improve soil aeration in your potted plants:
- Choose a high-quality soilless mix that is specifically designed for container gardening. Look for a well-draining mix free of heavy, compacted soil particles.
- Fill your plant pot with the soilless mix, leaving enough room at the top for watering.
- Gently remove your plant from its current pot and remove any old soil from the roots. Be careful not to damage the roots.
- Place the plant in the new pot, spreading out the roots evenly and ensuring that the plant is positioned at the same depth as in the previous pot.
- Fill in any remaining space around the roots with the soilless mix, pressing it down gently to ensure good contact between the soil and the roots.
- Water the plant thoroughly, allowing excess water to drain out of the bottom of the pot.
One of the benefits of using a soilless mix is that it provides excellent drainage and aeration. It’s designed to hold moisture without becoming waterlogged, which can lead to root rot and other problems. Instead, the mix allows water to flow through the soil quickly, preventing water from pooling in the bottom of the pot and reducing the risk of overwatering.
Another advantage is that it is free of pests and diseases that can affect traditional potting soils. Soil-borne diseases can spread quickly in a moist, warm environment, and traditional potting soils can be prone to attracting pests such as fungus gnats. Because soilless mixes do not contain soil, they are less likely to harbor pests or diseases, which can lead to healthier, more vibrant plants.
Using an aerator additive
An aerator additive is a product specifically designed to improve soil structure and aeration. It is typically made from a blend of natural materials such as humic acid, yucca extract, and seaweed extract, which work together to break up compacted soil and improve drainage.
When you add an aerator additive to your potting soil, it helps to loosen compacted soil and create more space for air and water to flow.
Another benefit of using an aerator additive is that it can improve the soil’s fertility. The additive’s natural materials help break down organic matter, making it more readily available to the plant’s roots. This can lead to improved plant growth and increased flower and fruit production.
To use an aerator additive, simply mix it into your potting soil according to the manufacturer’s instructions. Most aerator additives are easy to use and require no special equipment. You can add the additive when you are repotting your plants, or you can mix it in with your existing soil to improve aeration and fertility.
Can you aerate compacted soil?
Yes, you can aerate compacted soil. Aerating compacted soil is essential to promote healthy root growth and to prevent the soil from becoming waterlogged, which can cause root rot and other plant health issues.
Compacted soil occurs when particles are packed tightly together, reducing the space for air and water to penetrate the soil. This can be caused by various factors, including heavy foot traffic, excessive watering, and lack of aeration.
How to aerate the soil without damaging roots
When aerating soil in potted plants, ensure you don’t damage the roots. Here are a few tips to help you aerate your soil without causing damage to your plant’s roots:
- Use a gentle aerating tool: When using an aerating tool such as a fork or chopstick, choose one that is not too sharp or pointed. A rounded, blunt tool will be less likely to damage roots as you work the soil.
- Work the soil slowly and gently: When aerating, take your time and work slowly and gently. Avoid pushing the tool too far into the soil or using too much force, as this can damage roots.
- Avoid aerating too deeply: When aerating the soil, aim to work the top 1-2 inches of soil. This is where most of the roots are located, so focusing your efforts here will help improve aeration without causing damage.
- Water the soil first: If the soil is dry, it can be more challenging to aerate without causing damage to the roots. Water the soil first to help soften it and make it easier to work with.
- Repot the plant: If the soil is compacted and difficult to aerate without damaging the roots, consider repotting the plant into a larger container with fresh potting soil. This will give the plant a fresh start and allow you to improve soil aeration without causing damage to the roots.
Conclusion.
You must know how to aerate the soil in a potted plant to maintain a healthy plant. By improving soil aeration, you can promote healthy root growth, increase nutrient uptake, and prevent issues such as overwatering and root rot.
There are several methods for aerating soil in potted plants, including using a fork, chopstick, or aerating tool, as well as repotting the plant or using a soilless mix or aerator additive. When aerating the soil, be gentle and careful to avoid damaging the plant’s roots.