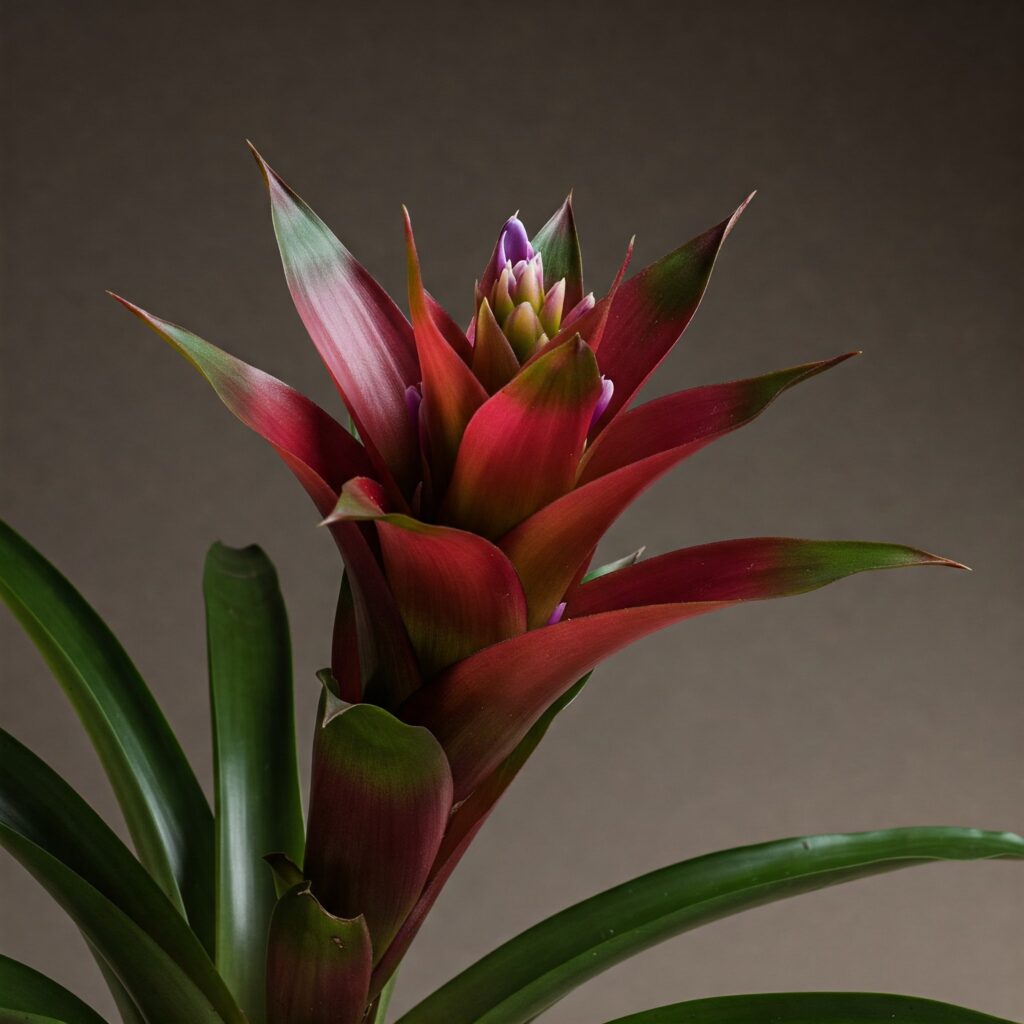
Bromeliads are stunning tropical plants that captivate plant enthusiasts with their vibrant colors, striking foliage, and unique growth patterns. These hardy plants are well-suited for indoor and outdoor environments, making them a popular choice for those looking to add a touch of the tropics to their homes or gardens. Whether placed on a windowsill, patio, or office desk, bromeliads thrive in pots, provided they receive the right care and conditions.
Caring for potted bromeliads is relatively simple, but it requires an understanding of their unique needs. Unlike traditional houseplants, bromeliads absorb moisture through their central cup rather than solely through their roots. They also prefer well-draining soil, proper air circulation, and specific light conditions to maintain their health and vibrant appearance. Selecting the right pot, watering correctly, and providing adequate humidity are key factors in ensuring their long-term growth.
In this comprehensive guide, we will cover everything you need to know about how to care for bromeliads in pots. From choosing the best pot and soil to understanding watering routines, lighting requirements, fertilization, and propagation, this article will equip you with all the knowledge to help your bromeliads thrive. Whether you’re a beginner or an experienced gardener, these essential tips will ensure your bromeliads remain healthy, beautiful, and long-lasting.
A Simple Guide To Care for Bromeliads in Pots
Choosing the Right Pot
Selecting the right pot is essential for your bromeliad’s health and growth. The size of the pot should be just slightly larger than the plant’s root ball. A pot that is too large can hold excess moisture, leading to root rot. The material of the pot is also important.
Terra cotta pots are breathable and allow excess water to evaporate, reducing the chances of overwatering. Plastic pots, on the other hand, retain moisture better and are a good choice for dry environments. No matter which type of pot you choose, always ensure it has drainage holes to prevent water from accumulating at the bottom, which can cause root damage.
Selecting the Best Soil
Bromeliads require well-draining soil to thrive. Using a regular potting mix can hold too much water, leading to root rot. Instead, opt for a specialized orchid mix, which is light and airy, allowing for proper drainage. A peat-based mix also works well as it retains just enough moisture while still providing good aeration.
You can also create your own mix by combining peat, perlite, and sand. This mixture ensures that excess water drains quickly while still retaining enough moisture for the plant’s roots to absorb. Avoid using dense or clay-based soil, as these can suffocate the roots and cause health issues.

Light and Placement
Proper lighting is crucial for bromeliads, as too much or too little light can affect their growth. Indoors, place your bromeliad in bright, indirect light near a window. A north- or east-facing window is ideal since it provides ample light without direct exposure to harsh midday sun. If placing the plant outdoors, choose a spot with partial shade or filtered sunlight.
Direct sunlight can cause leaf burn, leading to brown or scorched tips. However, some bromeliad varieties, such as Aechmea and Neoregelia, can tolerate more light than others. If your space has low light conditions, varieties like Guzmania adapt well and can thrive with minimal sunlight.

Watering Bromeliads
Watering bromeliads properly is essential to prevent issues like rot or dehydration. Unlike most plants, bromeliads absorb water through their central cup, also known as the “tank.” Fill the central cup with filtered or rainwater, as tap water may contain minerals that can harm the plant. It is also important to refresh the water weekly to prevent bacterial buildup.
While the central cup provides the primary source of hydration, lightly watering the soil can help keep the roots healthy. However, avoid overwatering, as bromeliads are highly susceptible to root rot. Ensure that any excess water drains properly, and never let water stagnate in the pot’s base.
Humidity and Temperature Needs
Bromeliads are tropical plants that thrive in warm and humid environments. Ideally, they should be kept in temperatures ranging from 60°F to 80°F (15°C to 27°C). Sudden drops in temperature can stress the plant, leading to slowed growth. In addition to warmth, humidity is essential for bromeliads.
Maintaining a humidity level of 50% or higher will keep the plant in optimal condition. If you live in a dry climate, consider misting the leaves with water every few days, placing the pot on a pebble tray filled with water, or using a humidifier. Proper air circulation is also crucial to prevent fungal issues, so avoid placing bromeliads in overly enclosed spaces.
Fertilizing Bromeliads
Fertilization helps bromeliads grow strong and vibrant, especially during their active growing season. Use a diluted liquid fertilizer with a balanced ratio of nutrients or a bromeliad-specific fertilizer once a month. When applying fertilizer, spray it onto the leaves and add a small amount to the central cup.
Avoid over-fertilizing, as excessive nutrients can lead to leggy growth or cause damage to the foliage. During the winter months, bromeliads enter a dormant phase and require less feeding. Reducing fertilizer application during this period will help maintain the plant’s natural growth cycle.
Pruning and Maintenance
Regular maintenance keeps your bromeliad looking its best and promotes healthy growth. Periodically remove dead leaves and flowers to prevent decay and maintain the plant’s appearance. When a bromeliad reaches the end of its life cycle, it will produce pups, or offsets, around its base.
These pups can be left attached to the parent plant or separated once they reach one-third of the parent’s size. Gently cut the pup away using a sterilized knife and plant it in a separate pot with well-draining soil. Over time, these offsets will mature into full-sized bromeliads, continuing the plant’s life cycle.
Propagating Bromeliads
Bromeliads reproduce by producing offsets, commonly known as pups. These pups develop at the base of the parent plant and can be separated for propagation. Here’s how to propagate bromeliads successfully:
- Wait for Maturity: Allow the pup to grow until it reaches at least one-third of the parent plant’s size. This ensures it has developed enough roots to survive on its own.
- Use Sterilized Tools: Using a sharp, sterilized knife or pruning shears, carefully cut the pup away from the parent plant, making a clean cut at the base.
- Let It Dry: Allow the cut end of the pup to dry for a few hours before planting. This prevents rot and allows the wound to callous over.
- Plant in a New Pot: Choose a small pot with well-draining soil, such as an orchid mix or a blend of peat, perlite, and sand.
- Provide Proper Care: Water the newly potted pup lightly and place it in a warm, humid environment with bright, indirect light. Over time, the pup will establish roots and grow into a mature bromeliad.
Repotting Bromeliads
Bromeliads do not require frequent repotting, but it becomes necessary when the plant outgrows its container. Typically, repotting is needed every 1-2 years or when the plant’s roots become crowded. To repot a bromeliad, choose a slightly larger pot with good drainage and prepare a fresh, well-draining soil mix.
Carefully remove the plant from its old pot, shaking off excess soil before transferring it to the new container. If the plant has produced pups, this is also an excellent time to separate and pot them individually. Avoid burying the plant too deep, as bromeliads prefer to sit slightly above the soil level.

Common Problems and Solutions
Like all plants, bromeliads may face challenges. Here are some common issues and how to fix them:
- Yellowing Leaves: This can indicate overwatering or low humidity. Adjust the watering schedule and increase humidity levels as needed.
- Pests: Bromeliads can attract aphids, scale insects, or mealybugs. Regularly inspect the leaves and treat infestations with insecticidal soap or neem oil.
- Rot and Fungal Issues: Poor drainage and stagnant water can lead to root rot and fungal infections. Prevent these issues by ensuring proper air circulation and emptying excess water from the plant’s central cup and pot base.
Conclusion
Caring for bromeliads in pots is a rewarding experience that requires minimal effort but yields beautiful results. By providing the right pot, soil, lighting, and watering routine, you can ensure your bromeliad remains vibrant and healthy. These stunning tropical plants are a perfect addition to any home or garden, bringing a touch of nature’s beauty into your space. Start growing bromeliads today and enjoy their unique charm for years to come!