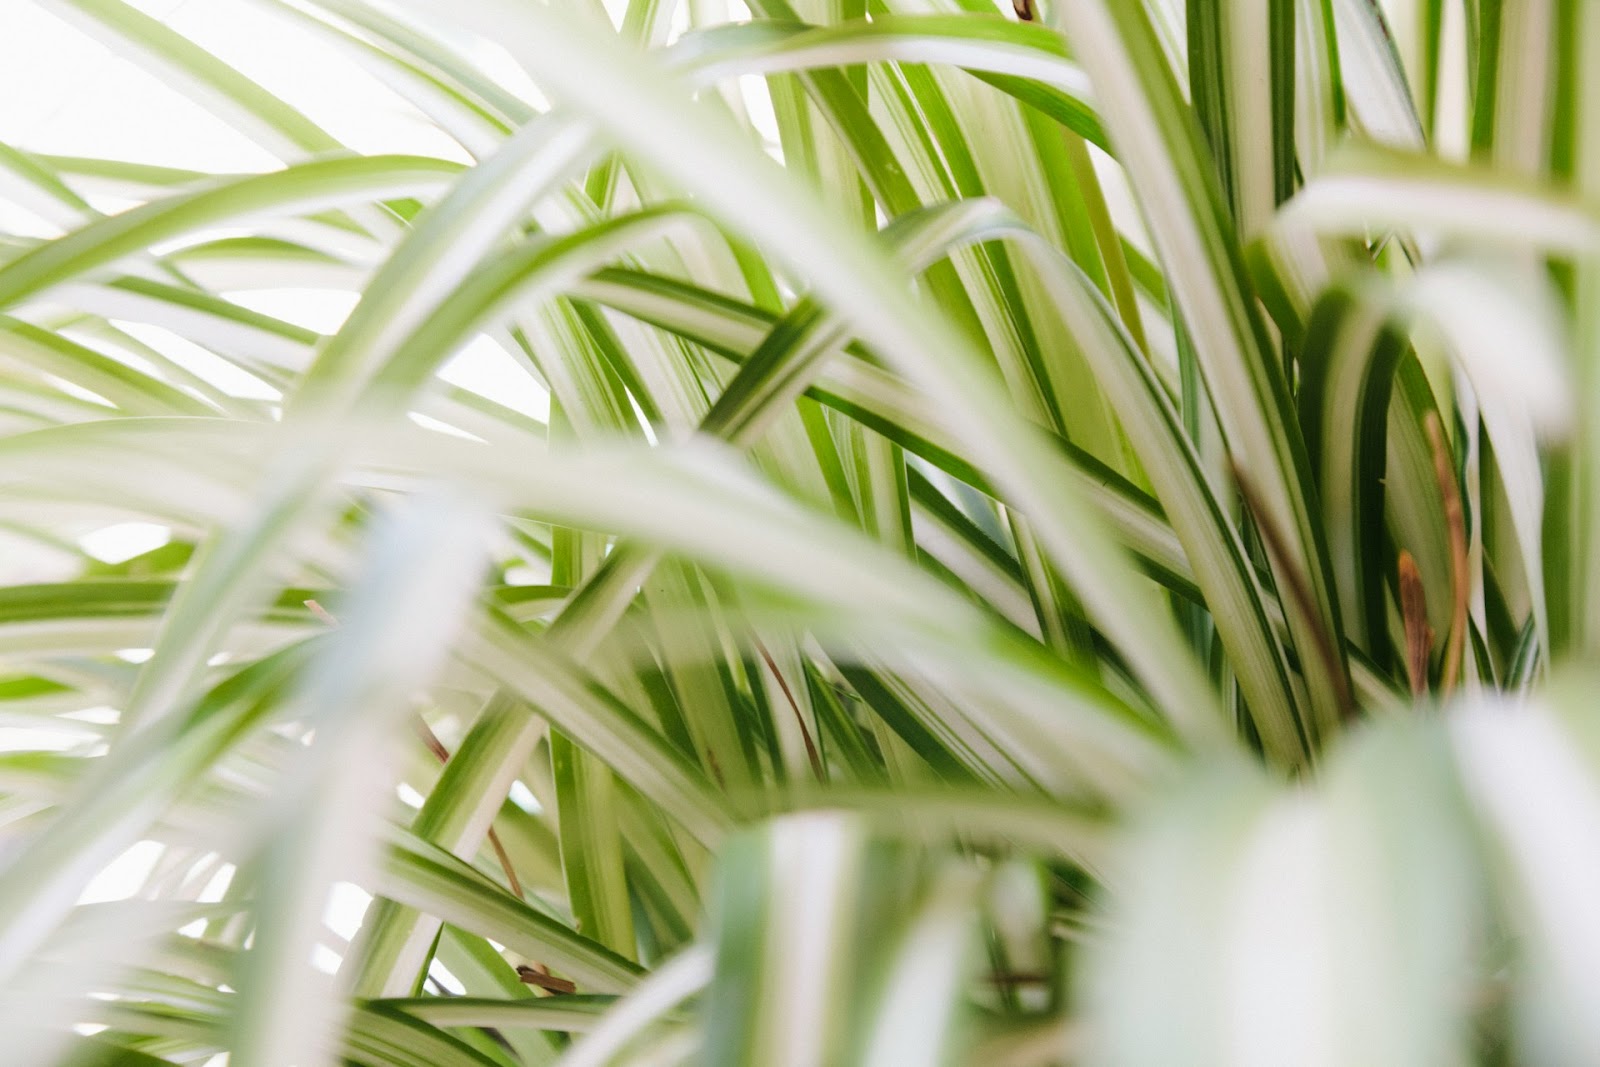
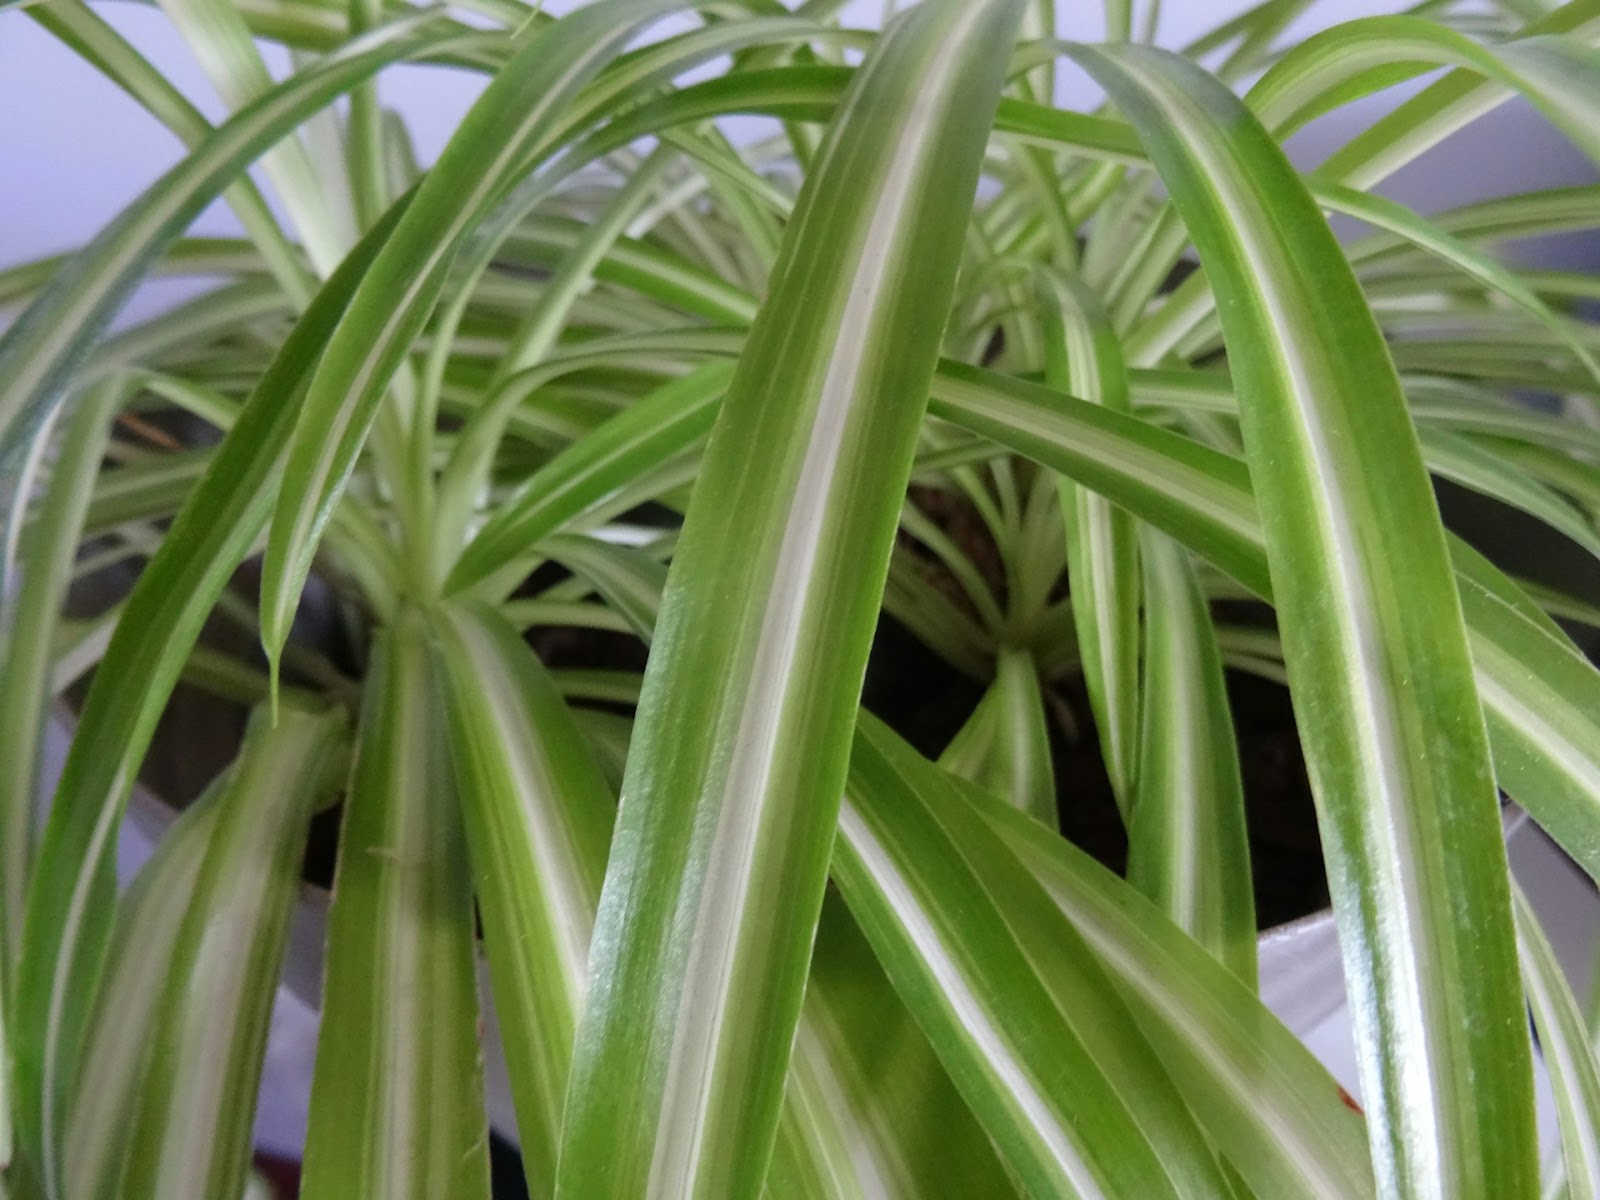
Spider plants, with their cascading green leaves and charming spiderettes, are a favorite among plant enthusiasts. But did you know those little spiderettes can easily turn into new plants? It’s true! In fact, a study by the University of Georgia found that spider plants are among the easiest houseplants to propagate, with a success rate of over 90%!
Growing baby spider plants from cuttings is a simple and rewarding process that allows you to expand your indoor garden with minimal effort.
In this guide, we’ll walk you through everything you need to know to successfully grow baby spider plants from cuttings, transforming those tiny offshoots into thriving, full-grown plants.
Understanding Spider Plant Propagation
Spider plant propagation is a simple and rewarding process. It typically involves two methods:
- using spiderettes (the small offshoots that dangle from the mother plant)
- and root division.
For those wondering how to grow baby spider plants from cuttings, the spiderettes are usually the best choice.
Types of Spider Plant Cuttings
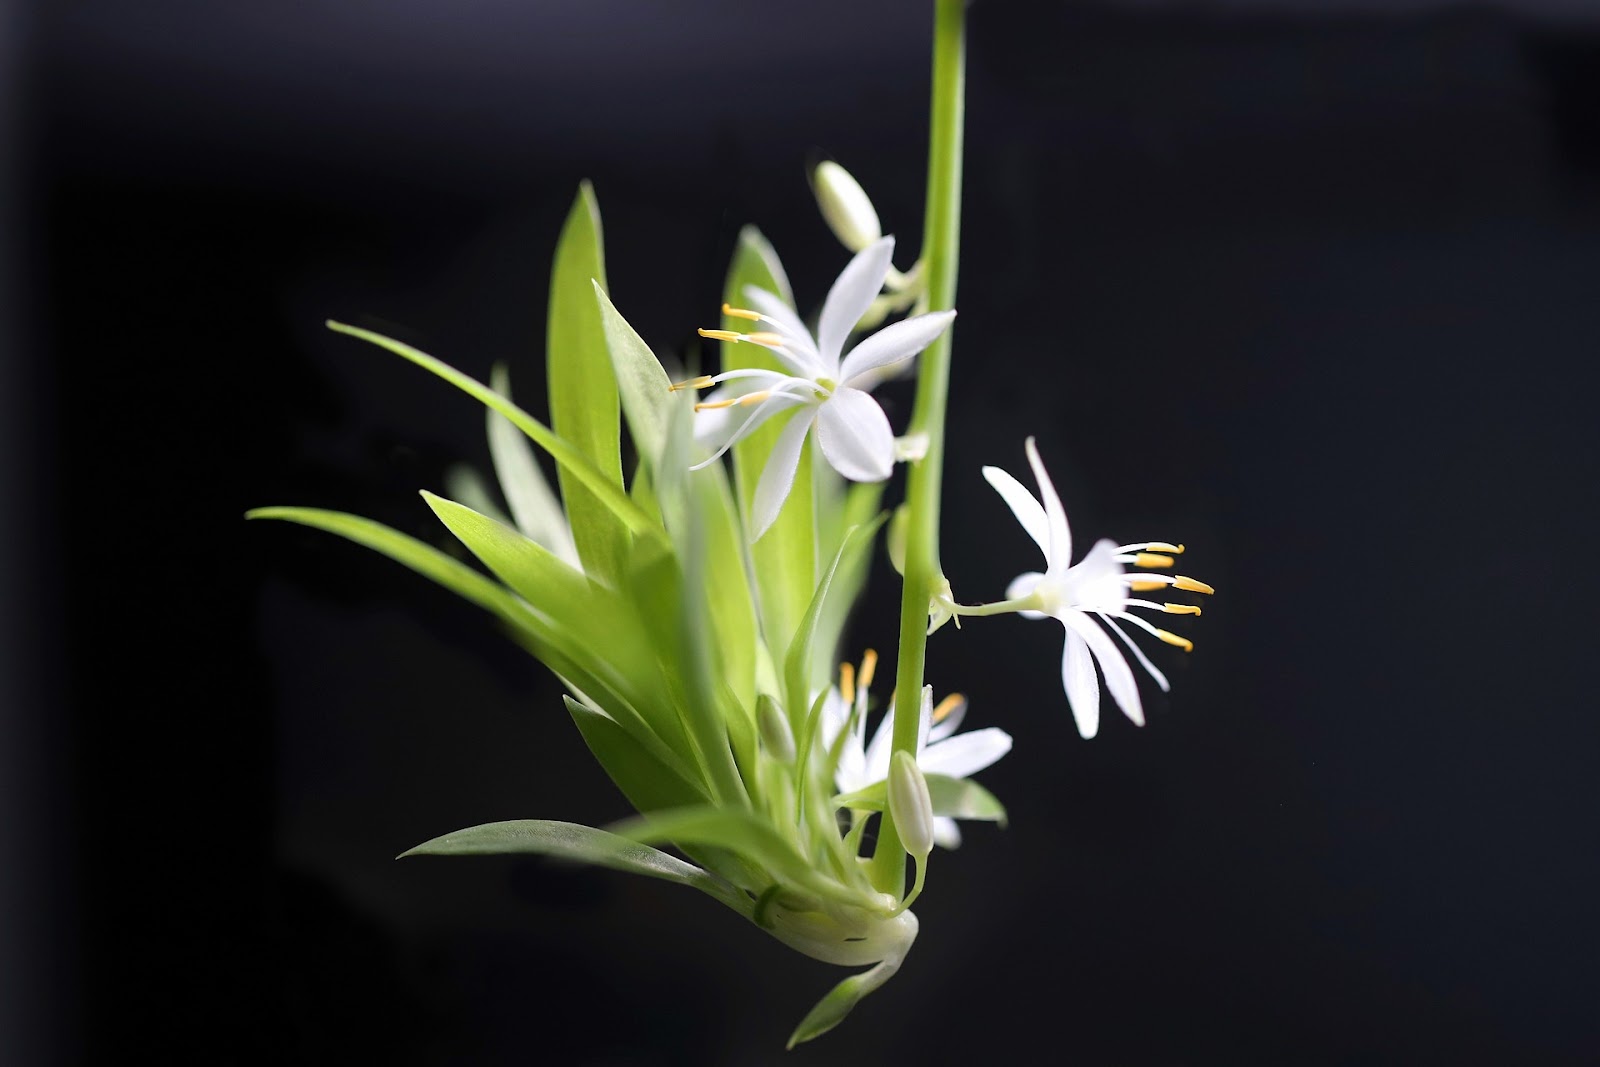
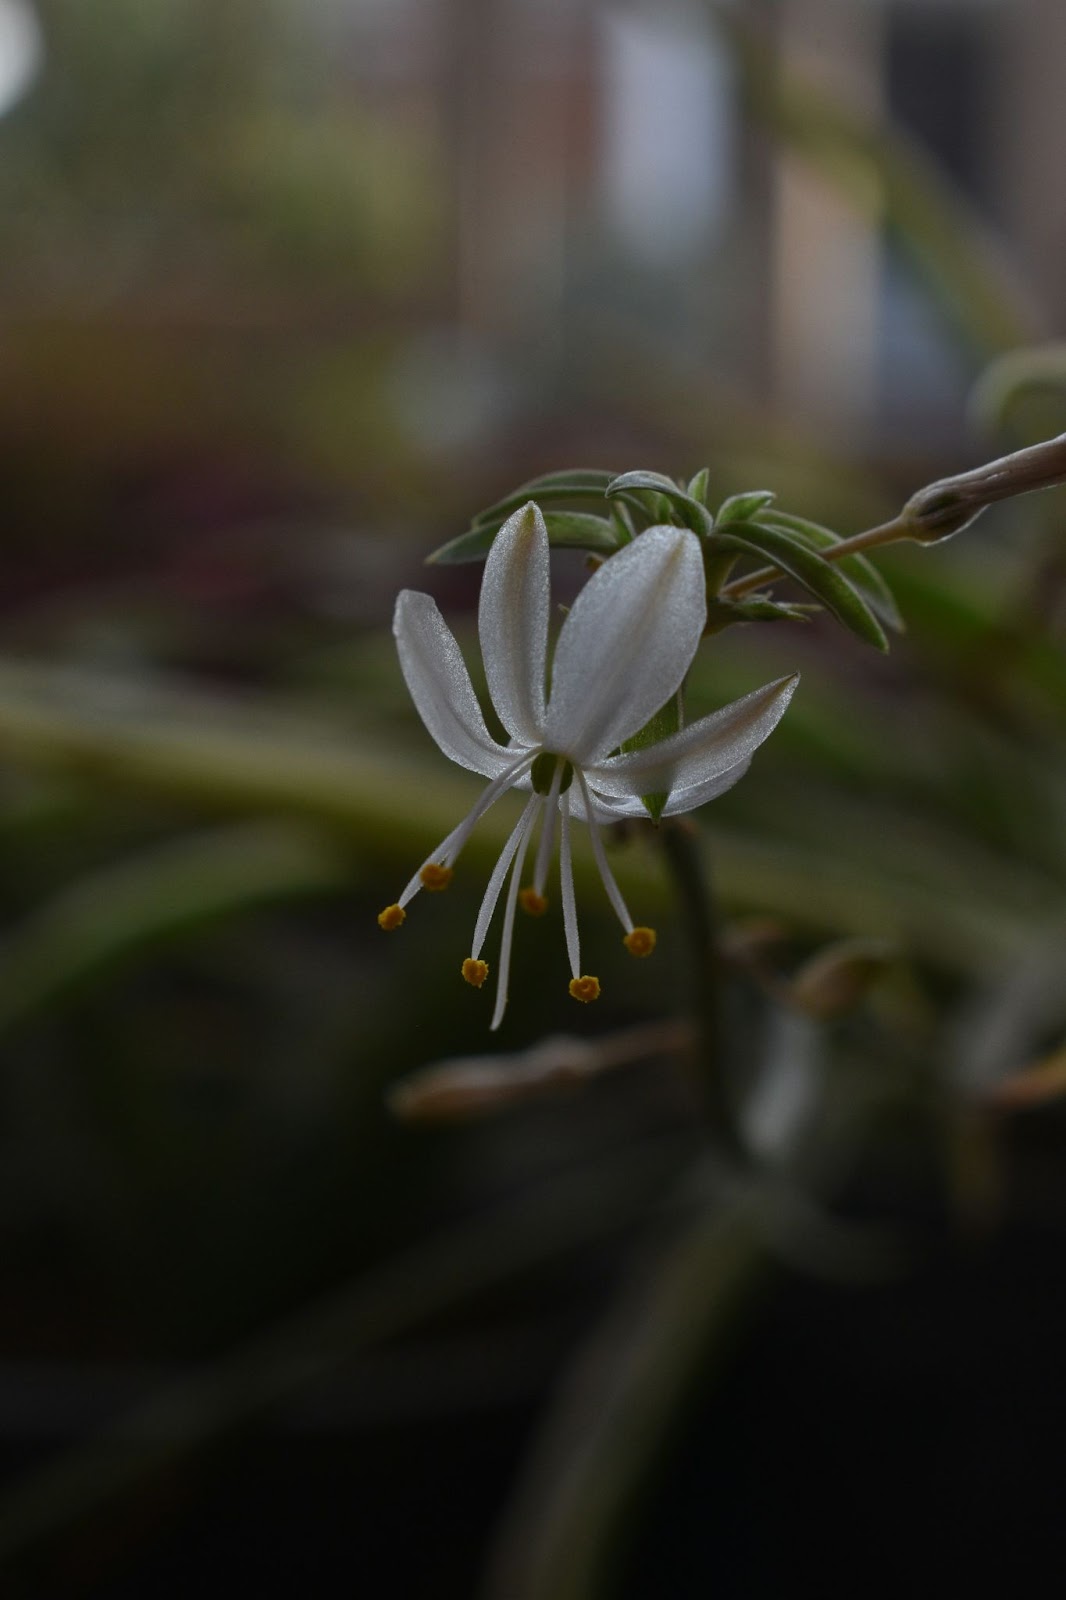
- Spiderettes (Offsets): These are the baby plants that grow from the mother plant’s stolons. They often come with their own tiny roots, making them ideal for propagation.
- Root Division: This involves dividing the mother plant’s root ball into sections, each capable of growing independently. While effective, this method is more invasive and best suited for mature plants that need repotting.
Best Time to Take Cuttings
The optimal time for taking spider plant cuttings is during the growing season, typically in spring or early summer. During this period, the plant’s growth hormones are most active, enhancing the success rate of propagation.
Identifying Healthy Spiderettes for Propagation
Select spiderettes that are vibrant green, free from pests or diseases, and have visible nubs or small roots. These characteristics indicate a healthy baby plant ready for propagation.
Preparing Your Spider Plant Cuttings
Preparation is key to successful spider plant propagation. Here’s how to get started:
Tools Needed for Taking Cuttings
- Clean, Sharp Scissors or Pruning Shears: To make precise cuts without damaging the plant tissue.
- Disinfectant: Rubbing alcohol or a bleach solution to sterilize tools, preventing disease transmission.
- Small Containers: For water propagation.
- Well-Draining Soil and Pots: For soil propagation.
- Optional Rooting Hormone: To encourage faster root development.
How to Remove Spiderettes from the Mother Plant
- Identify the Spiderette: Look for a well-developed baby with small roots.
- Sterilize Your Tools: Wipe the blades with disinfectant.
- Cut Below the Node: Make a clean cut just below the node where the spiderette attaches to the stolon.
- Avoid Damaging Roots: Handle the spiderette gently to preserve its tiny roots.
Preparing Cuttings for Rooting
If using a rooting hormone, lightly dip the cut end of the spiderette into the powder. This step is optional but can expedite root growth.
Water Propagation Method for Spider Plants
Water propagation is a popular and visually appealing method to grow baby spider plants from cuttings.
Setting Up a Water Propagation Station
- Choose a Container: Clear glass jars or vases work well, allowing you to monitor root development.
- Fill with Water: Use room-temperature, filtered water to prevent chlorine damage.
- Place the Spiderette: Submerge the roots while keeping the leaves above water to prevent rot.
Caring for Cuttings in Water
- Location: Place the container in bright, indirect sunlight.
- Water Maintenance: Change the water every 2-3 days to keep it fresh and oxygenated.
- Monitor Growth: Look for root elongation over the next 1-2 weeks.
How To Identify Root Rot In Succulents
When to Transfer Water-Rooted Cuttings to Soil
Once the roots reach about 1-2 inches in length, typically after 2-3 weeks, the cutting is ready to be transplanted into soil. This transition is crucial for the plant’s long-term health.
Soil Propagation Method for Spider Plants
Some gardeners prefer to plant spiderettes directly into the soil. Here’s how:
Choosing the Right Soil Mix for Spider Plant Cuttings
Opt for a well-draining mix to prevent waterlogged conditions. A blend of potting soil, perlite, and sand ensures adequate drainage.
Planting Spiderettes Directly in Soil
- Prepare the Pot: Ensure it has drainage holes.
- Fill with Soil Mix: Leave about an inch below the rim.
- Plant the Spiderette: Make a small hole, place the spiderette’s roots inside, and gently cover with soil.
- Water Thoroughly: Moisten the soil without making it soggy.
Maintaining Moisture for Soil-Rooted Cuttings
Keep the soil consistently moist during the initial weeks. Using a spray bottle can help maintain moisture without overwatering.
Caring for Your Newly Propagated Spider Plants
Post-propagation care determines the success of growing spider plant babies.
Light Requirements for Baby Spider Plants
Place the young plants in areas with bright, indirect light. Direct sunlight can scorch the leaves, while too little light hampers growth.
Watering and Humidity Needs
- Watering: Allow the top inch of soil to dry out between waterings. Overwatering can lead to root rot.
- Humidity: Spider plants appreciate moderate humidity. Mist the leaves occasionally or use a humidifier during dry seasons.
Fertilizing Young Spider Plants
After about a month, begin feeding with a diluted, balanced liquid fertilizer once a month during the growing season to promote robust growth.
Troubleshooting Common Propagation Issues
Even with meticulous care, challenges can arise when propagating spider plant cuttings.
Dealing with Rotting Cuttings
- Cause: Overwatering or poor air circulation.
- Solution: Ensure proper drainage, avoid waterlogged conditions, and maintain good airflow around the plants.
Addressing Slow Root Growth
- Cause: Insufficient light or nutrients.
- Solution: Relocate to a brighter spot and consider using a rooting hormone to stimulate growth.
Managing Pest Problems in Young Plants
Common pests include spider mites and aphids.
- Detection: Regularly inspect leaves for signs of infestation.
- Treatment: Wipe leaves with a solution of water and mild soap or use neem oil sprays.
From Babies to Mature Plants: Next Steps
As your spider plant cuttings mature, transitioning them properly ensures continued health.
When to Repot Your Propagated Spider Plants
Once roots fill the current pot and growth slows, usually after a year, it’s time to repot into a larger container.
Encouraging Fuller Growth in Young Plants
- Pruning: Trim brown tips and older leaves to promote new growth.
- Rotation: Turn the pot periodically to ensure even light exposure and balanced growth.
Tips for Maintaining Healthy, Mature Spider Plants
- Regular Feeding: Continue monthly fertilization during the growing season.
- Monitoring: Keep an eye out for signs of stress, such as yellowing leaves, and adjust care accordingly.
- Propagation: As mature plants produce their own spiderettes, you can repeat the propagation process, expanding your green collection.
Snake Plant Care: 7 Easy Tips for Thriving Houseplants
Conclusion
Propagating spider plants from cuttings is a rewarding and cost-effective way to expand your plant collection. This method capitalizes on the plant’s natural ability to produce offspring, making it accessible even for novice gardeners.
By following the steps outlined – from selecting healthy plantlets to providing proper care during rooting and transplanting – you can successfully grow new spider plants with minimal effort.
This process not only allows you to create new plants for free but also provides an opportunity to share with friends or fill your home with more greenery. Remember that patience is key, as it may take a few weeks for roots to develop fully.
With consistent care and attention, your spider plant cuttings will soon grow into healthy, mature plants, ready to thrive in their new environments and potentially produce their own offspring in the future.