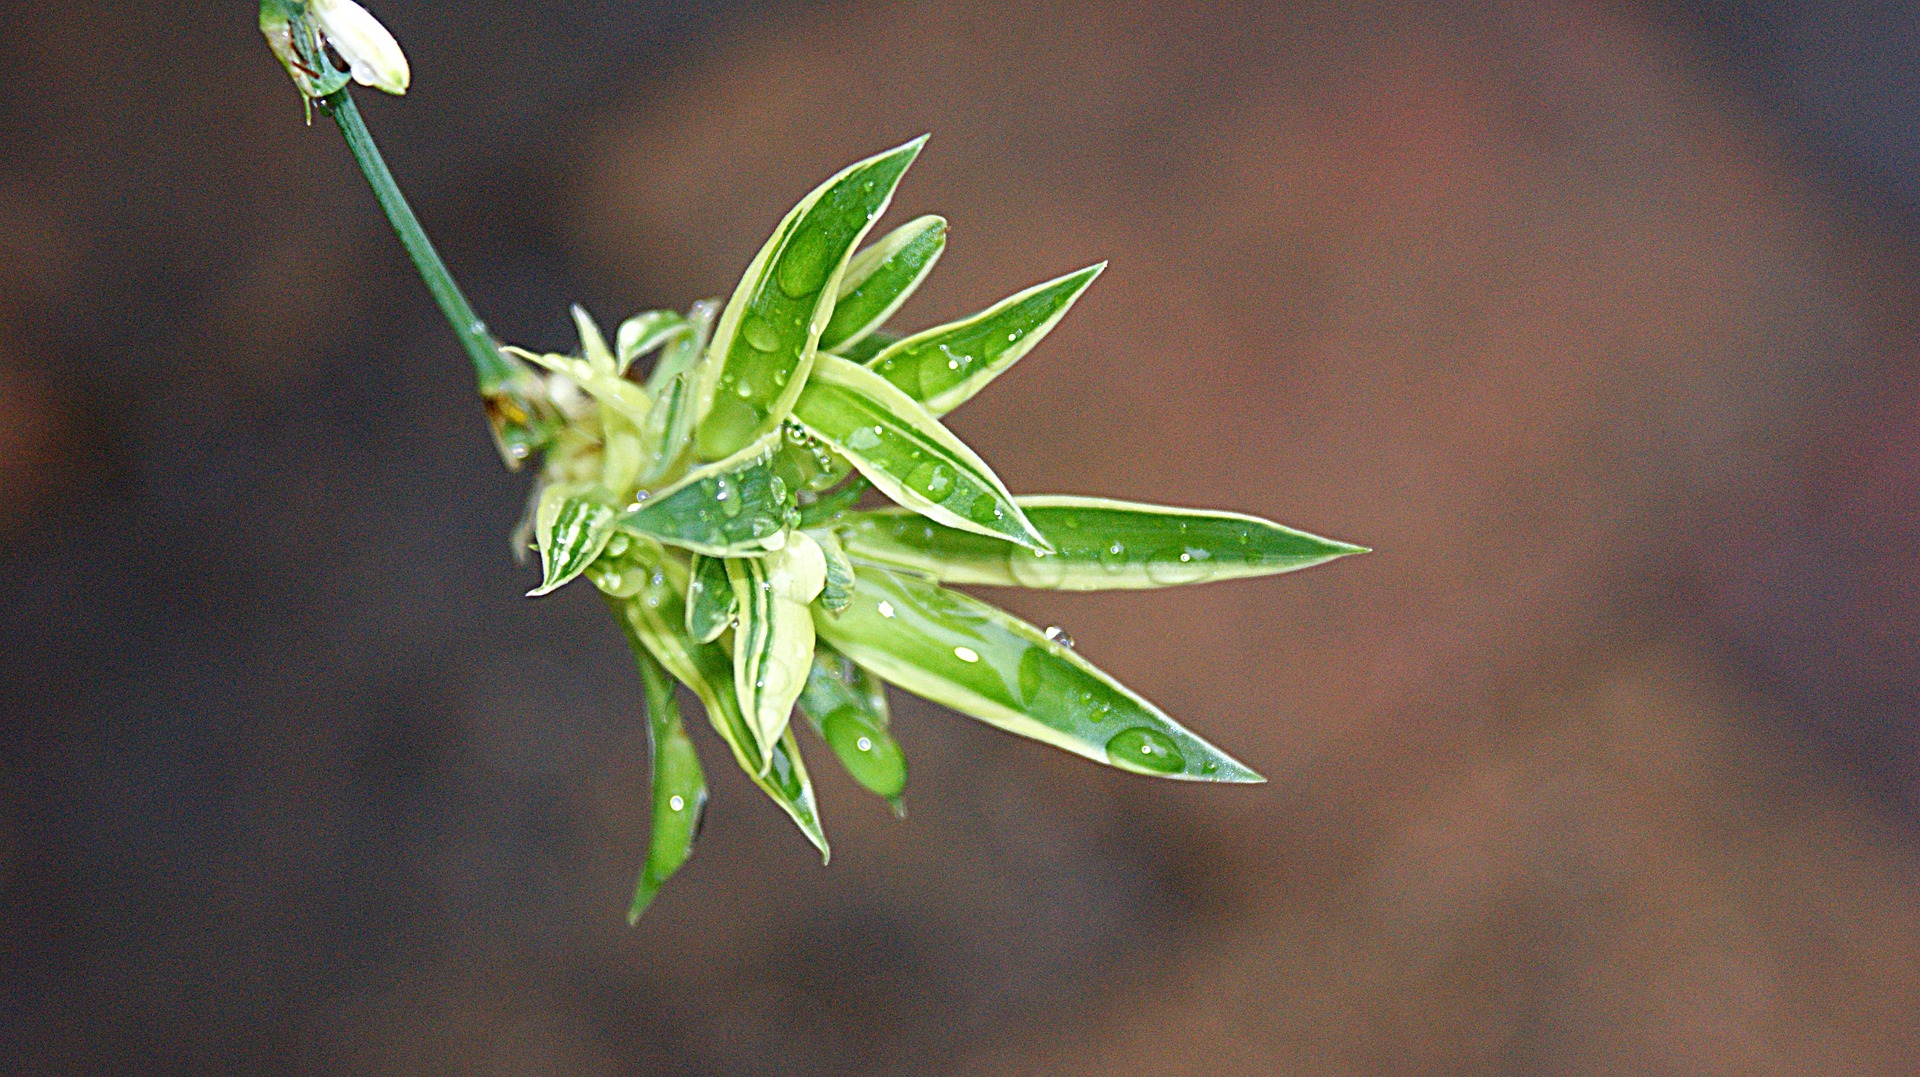
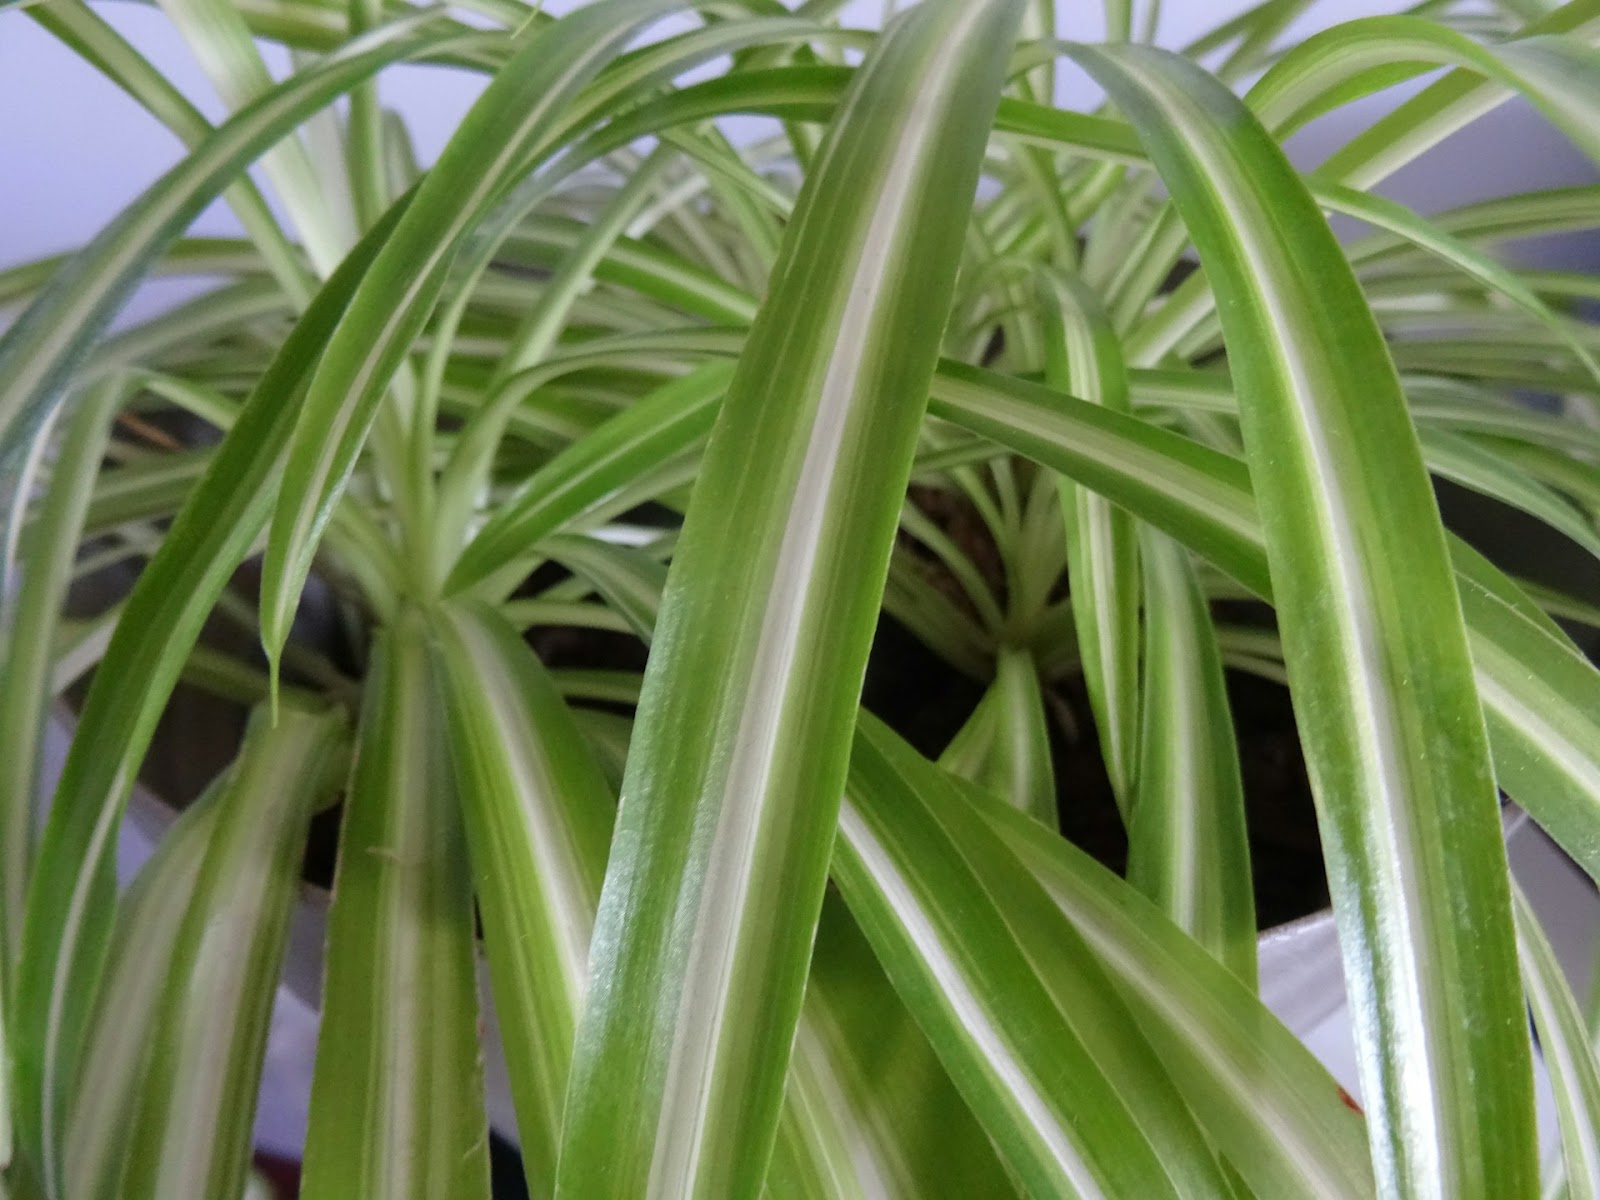
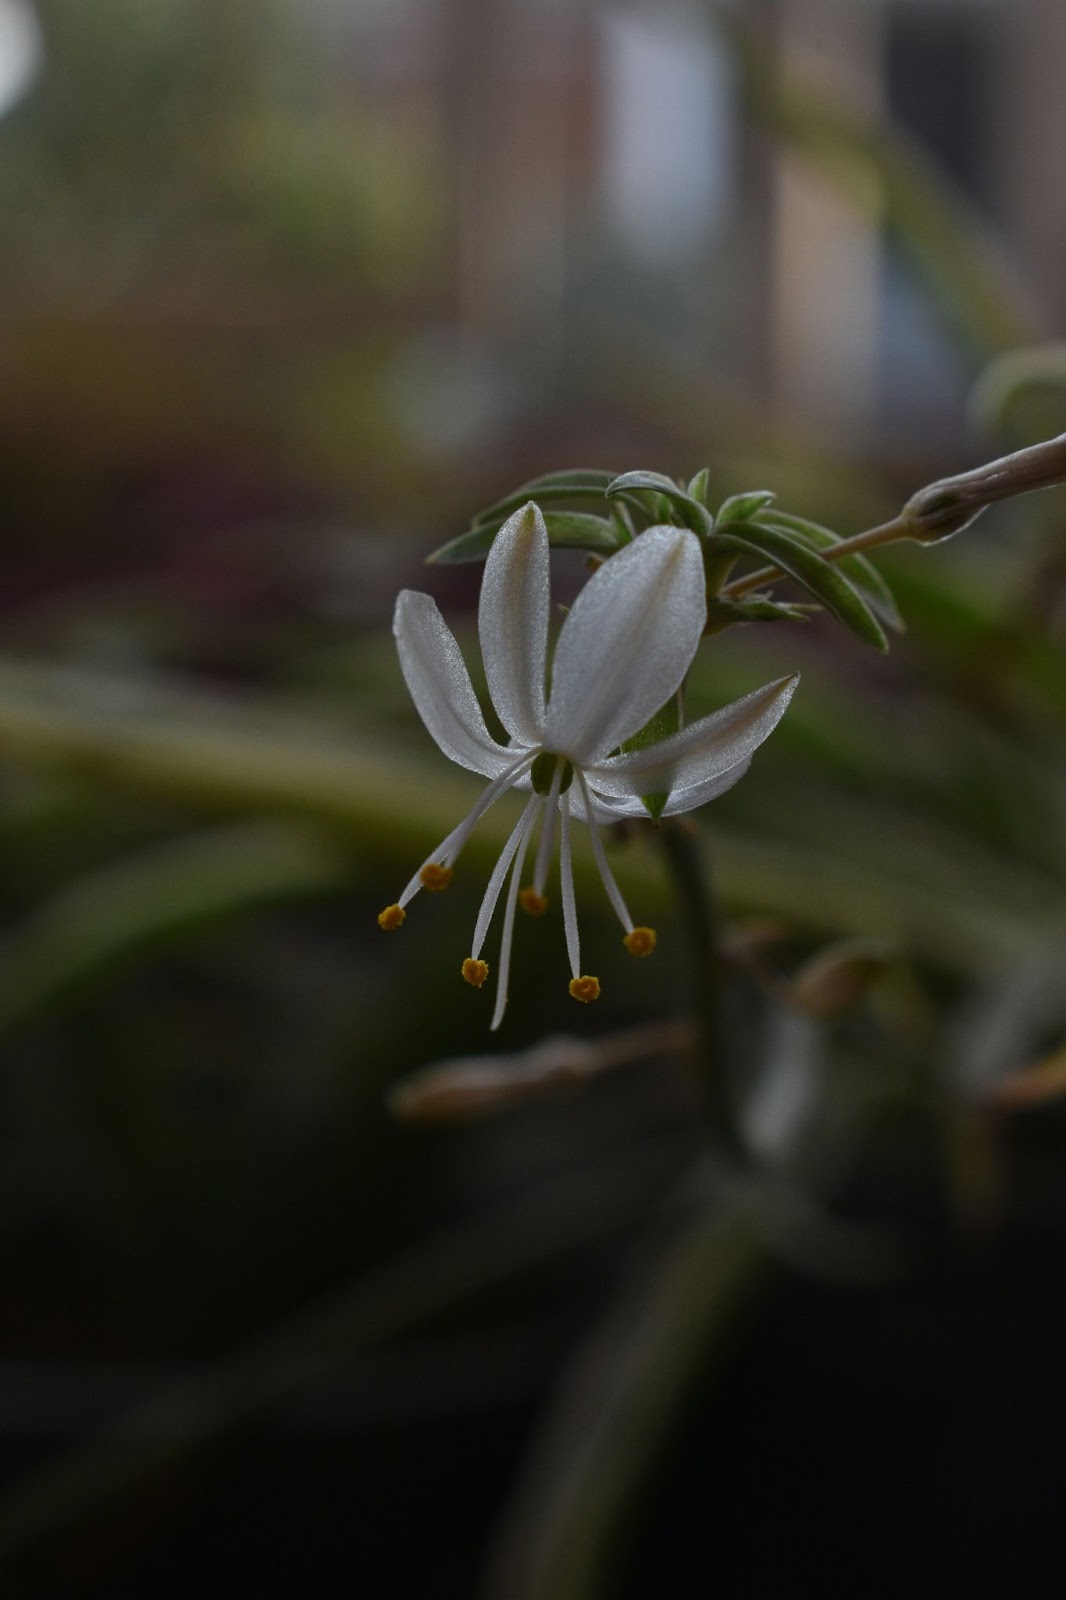
Spider plants are beloved for their easy care and ability to produce countless “babies,” or spiderettes, that dangle gracefully from the mother plant. Did you know that spider plants are so prolific, they can produce up to 35 babies in a single growing season?
If you’re looking for a fun and fuss-free way to propagate these charming offshoots, growing baby spider plants in water is an excellent method. Water propagation not only allows you to watch the roots develop in real time but also offers a clean and straightforward way to nurture new plants.

This guide will show you how to grow baby spider plants in water, turning those tiny spiderettes into lush, thriving houseplants.
So grab your glass jars and let’s make some plant babies!
Selecting the Perfect Spider Plant Babies
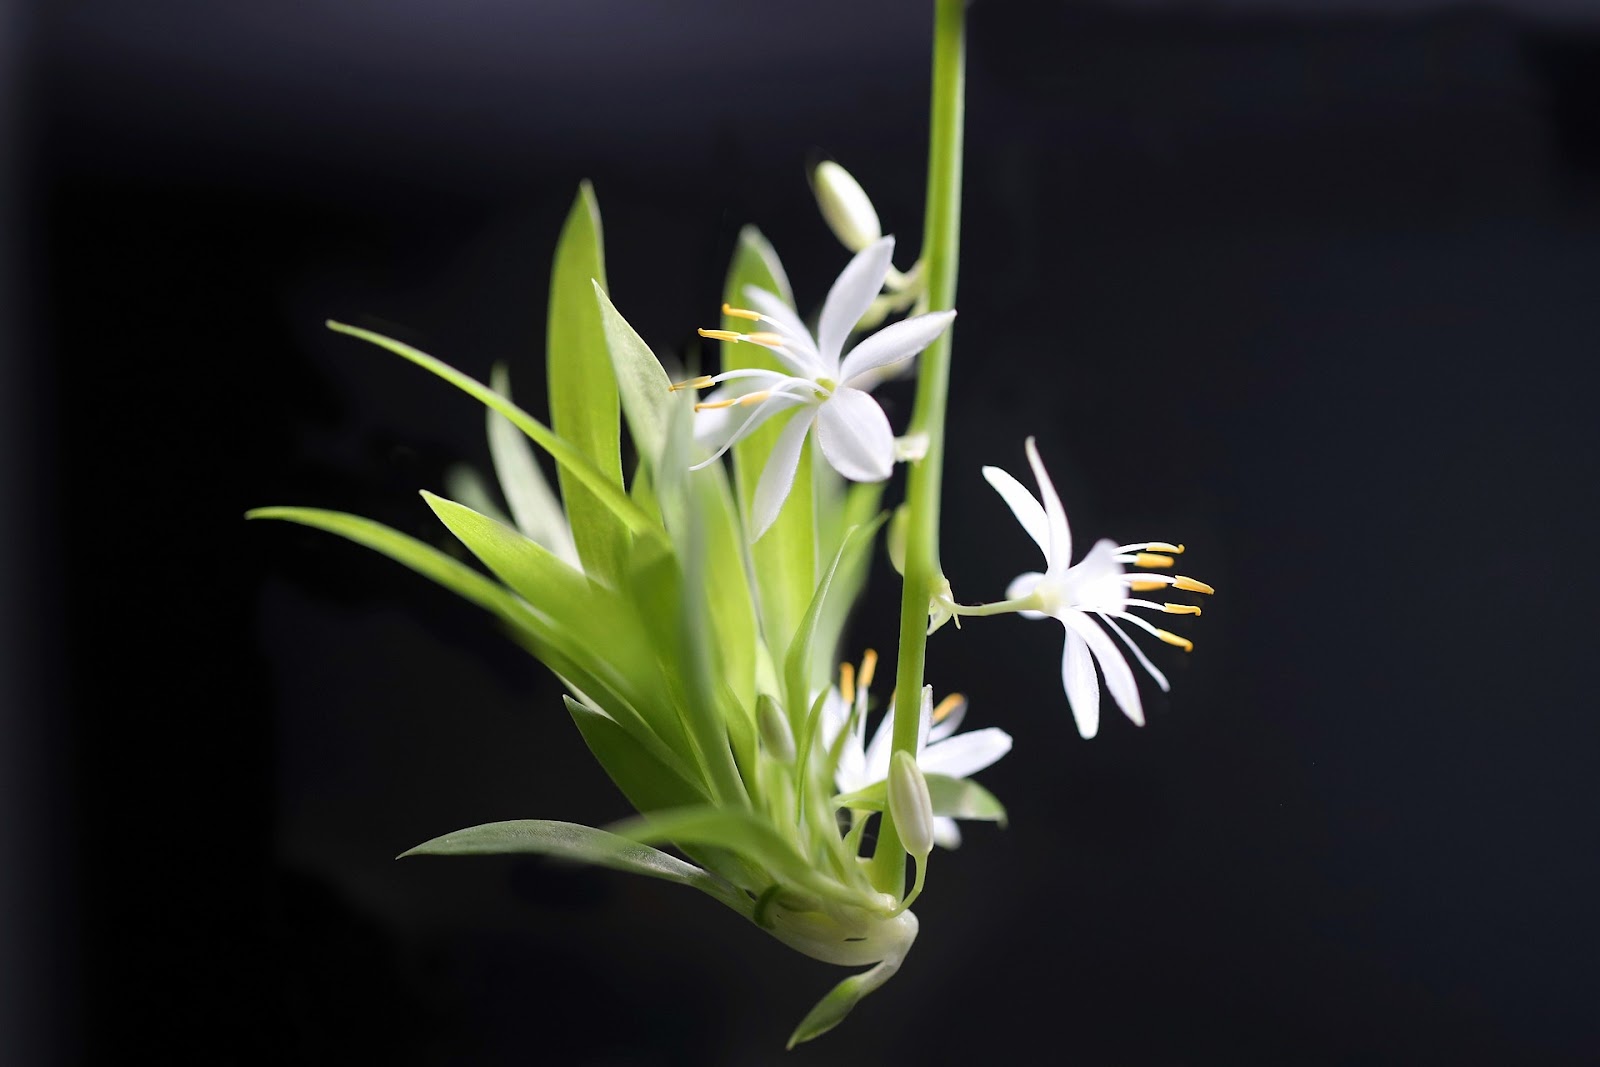
Successful water propagation starts with selecting the right spiderettes. These little offshoots, known as spider plant babies, are the key to growing new plants.
Identifying Healthy Spiderettes for Water Propagation
When choosing spiderettes for water rooting, look for ones that are vibrant green, free from pests, and have tiny root nubs. These are indicators of a healthy spiderette that’s ready to grow in water. Spider plant water propagation is most successful when these signs of health are present.
When to Remove Babies from the Mother Plant
The best time to remove spiderettes from the mother plant is during the growing season, typically in spring or summer. This is when the plant’s energy is at its peak, giving your spiderettes a great start in life.
Preparing Spiderettes for Water Growth
Before placing your spiderettes in water, gently remove any brown or damaged leaves. This helps the plant focus its energy on root development. You can also dip the cut end in rooting hormone to encourage faster growth, though this is optional.
Setting Up Your Water Propagation Station
A well-prepared water propagation station is essential for growing spider plant babies in water.
Choosing the Right Container for Water Propagation
The container you choose plays a big role in the success of spider plant water propagation. Clear glass jars or vases are ideal because they allow you to monitor root growth. Make sure the container is clean to prevent bacterial growth.
Best Water Types for Growing Spider Plant Babies
Using the right water is crucial. Tap water is generally fine, but if your water is heavily chlorinated, it’s best to let it sit out overnight to allow the chlorine to dissipate. Filtered water or rainwater can also be excellent options for water-rooting spider plants.
Creating an Ideal Environment for Growth
Place your containers in a spot with bright, indirect sunlight. Too much direct sunlight can cause algae growth, while too little light can slow down root development.
The Water Propagation Process
Now that your station is set up, it’s time to start growing spider plant babies in water!
Placing Spider Plant Babies in Water
Place the spiderette’s roots in the water, ensuring that the leaves remain above the waterline to prevent rotting. The small roots should be fully submerged, as this is where new growth will occur.
Maintaining Proper Water Levels
Keep an eye on the water level in your container. As the water evaporates, you’ll need to top it up to keep the roots submerged. Consistent water levels are key to successful spider plant water propagation.
Changing Water and Preventing Algae Growth
Change the water every 5-7 days to prevent stagnation and algae growth. If you notice algae forming, rinse the container thoroughly before refilling it with fresh water.
Nurturing Your Water-Growing Spider Plant Babies
Proper care during water propagation will ensure your spider plant babies thrive.
Light Requirements for Water-Propagated Spider Plants
Spider plants in water need bright, indirect light to grow strong roots. If your spiderettes aren’t getting enough light, you might notice slower root growth or pale leaves.
Temperature and Humidity Considerations
Spider plants prefer temperatures between 65-75°F (18-24°C) and moderate humidity. Avoid placing your propagation station near drafts or heating vents, as temperature fluctuations can stress the plants.
Monitoring Root Development
Check the roots regularly. Within a few weeks, you should see new roots growing. Once they reach about 1-2 inches long, your spider plant baby is well on its way!
Why Are My Succulent Plant Leaves Falling Off?
Troubleshooting Common Water Propagation Issues
Even with the best care, you might encounter some challenges when growing spider plant babies in water.
Dealing with Rotting or Yellowing Leaves
If you notice yellowing leaves or a foul smell from the water, your spider plant might be rotting. Remove any affected leaves, change the water, and make sure the leaves aren’t submerged.
Addressing Slow Root Growth
If your spider plant water propagation isn’t progressing, consider moving the container to a brighter spot or adding a bit of diluted liquid fertilizer to the water.
Managing Potential Pest Problems in Water
Pests like spider mites can sometimes find their way to water-propagated plants. If you notice pests, rinse the plant with a gentle stream of water and change the water in the container.
Transitioning Spider Plant Babies from Water to Soil
Once your spider plant babies have developed strong roots, it’s time to transition them from water to soil.
Signs Your Water-Grown Spider Plant is Ready for Soil
When the roots are about 2-3 inches long, your spider plant is ready for the move to the soil. The plant should also be showing signs of new leaf growth, indicating it’s strong enough for the transition.
Choosing the Right Potting Mix for Transplanting
Select a well-draining potting mix for your spider plants. A mix of potting soil, perlite, and sand works well. The pot should also have drainage holes to prevent water from accumulating at the bottom.
Step-by-Step Guide to Moving from Water to Soil
- Prepare the Pot: Fill it with the potting mix, leaving space for the plant.
- Plant the Spiderette: Make a small hole in the soil, place the roots inside, and gently cover them with soil.
- Water Lightly: Water the plant lightly to help it settle into its new home.
Caring for Your New Spider Plants After Water Propagation
Your spider plant’s journey doesn’t end after it’s transplanted to soil. Here’s how to care for it as it continues to grow.
Watering and Fertilizing Newly Potted Spider Plants
Water your newly potted spider plant when the top inch of soil feels dry. Overwatering can lead to root rot, so be cautious. Feed the plant with a balanced, diluted fertilizer once a month during the growing season.
Encouraging Healthy Growth and Development
Rotate the pot occasionally to ensure even light exposure, and prune any yellowing leaves to encourage fresh growth. With proper care, your spider plant will continue to thrive.
Tips for Long-Term Spider Plant Care
As your spider plant grows, it will eventually produce its own spiderettes, allowing you to start the water propagation process all over again. Keep the plant in bright, indirect light, water it regularly, and enjoy the cycle of growth.
Conclusion
Growing baby spider plants in water is a simple and rewarding process. By following the steps outlined – separating the plantlets, providing clean water, ensuring proper light, and changing the water regularly – you can successfully propagate these versatile houseplants.
Water propagation offers an easy way to multiply your spider plant collection or share with friends. Once roots develop, you can either maintain them in water or transition them to soil for long-term growth. With minimal care, these resilient plants will thrive, bringing a touch of green to any indoor space.