Hydrangeas are beloved for their lush foliage and vibrant blooms, making them a favorite among gardeners. But did you know that these stunning flowers can thrive just as beautifully in pots as they do in garden beds? You can care for hydrangeas in pots without a hassle.
Growing hydrangeas in containers offer a versatile way to enjoy their beauty, whether you have a sprawling garden, a cozy patio, or a small balcony. With the right care, potted hydrangeas can bring a burst of color to any space, and they’re surprisingly easy to maintain.

In this guide, we’ll explore the essential tips and tricks for keeping your container hydrangeas healthy and vibrant, from choosing the right pot and soil to mastering watering and pruning techniques.
Choosing the Perfect Pot for Your Hydrangea
Selecting the right pot is the first and most crucial step in ensuring your hydrangea thrives in a container. The pot you choose must cater to the plant’s growth needs and provide adequate drainage.
- Importance of Pot Size and Material
Hydrangeas have a robust root system that requires ample space to grow. Opt for a pot that’s at least 18-24 inches in diameter, depending on the variety. The material of the pot also matters; terra cotta pots are breathable and provide excellent drainage but can dry out quickly. Ceramic and plastic pots retain moisture better, making them ideal for hotter climates. Consider the aesthetic appeal as well, as the pot can enhance the overall look of your plant.
- Drainage Considerations
Adequate drainage is essential to prevent water from accumulating at the bottom of the pot, which can cause root rot. Ensure the pot has several drainage holes. To further aid drainage, place a layer of gravel or small stones at the bottom before adding soil. This setup allows excess water to escape easily, protecting the roots from standing water.
- Best Pot Styles for Different Hydrangea Varieties
Compact or dwarf hydrangea varieties, like ‘Mini Penny’ or ‘Pia,’ are perfect for smaller pots and spaces, including balconies or patios. Larger varieties, such as ‘Annabelle’ or ‘Endless Summer,’ need bigger pots to accommodate their size and ensure healthy growth. Hanging baskets can also be a creative option for trailing varieties or smaller hydrangeas, providing a unique vertical gardening solution.
The Best Soil To Care For Hydrangeas in Pots
The right soil mix provides the necessary nutrients and drainage for potted hydrangeas.
Ideal Soil Mix
A well-draining, nutrient-rich potting mix is crucial for container hydrangeas. Avoid using garden soil alone, as it may not drain well in pots. A good soil mix might include equal parts peat moss, perlite, and pine bark. This combination ensures proper aeration, moisture retention, and nutrient availability. Additionally, incorporating organic matter like compost can enhance soil fertility.
pH Considerations
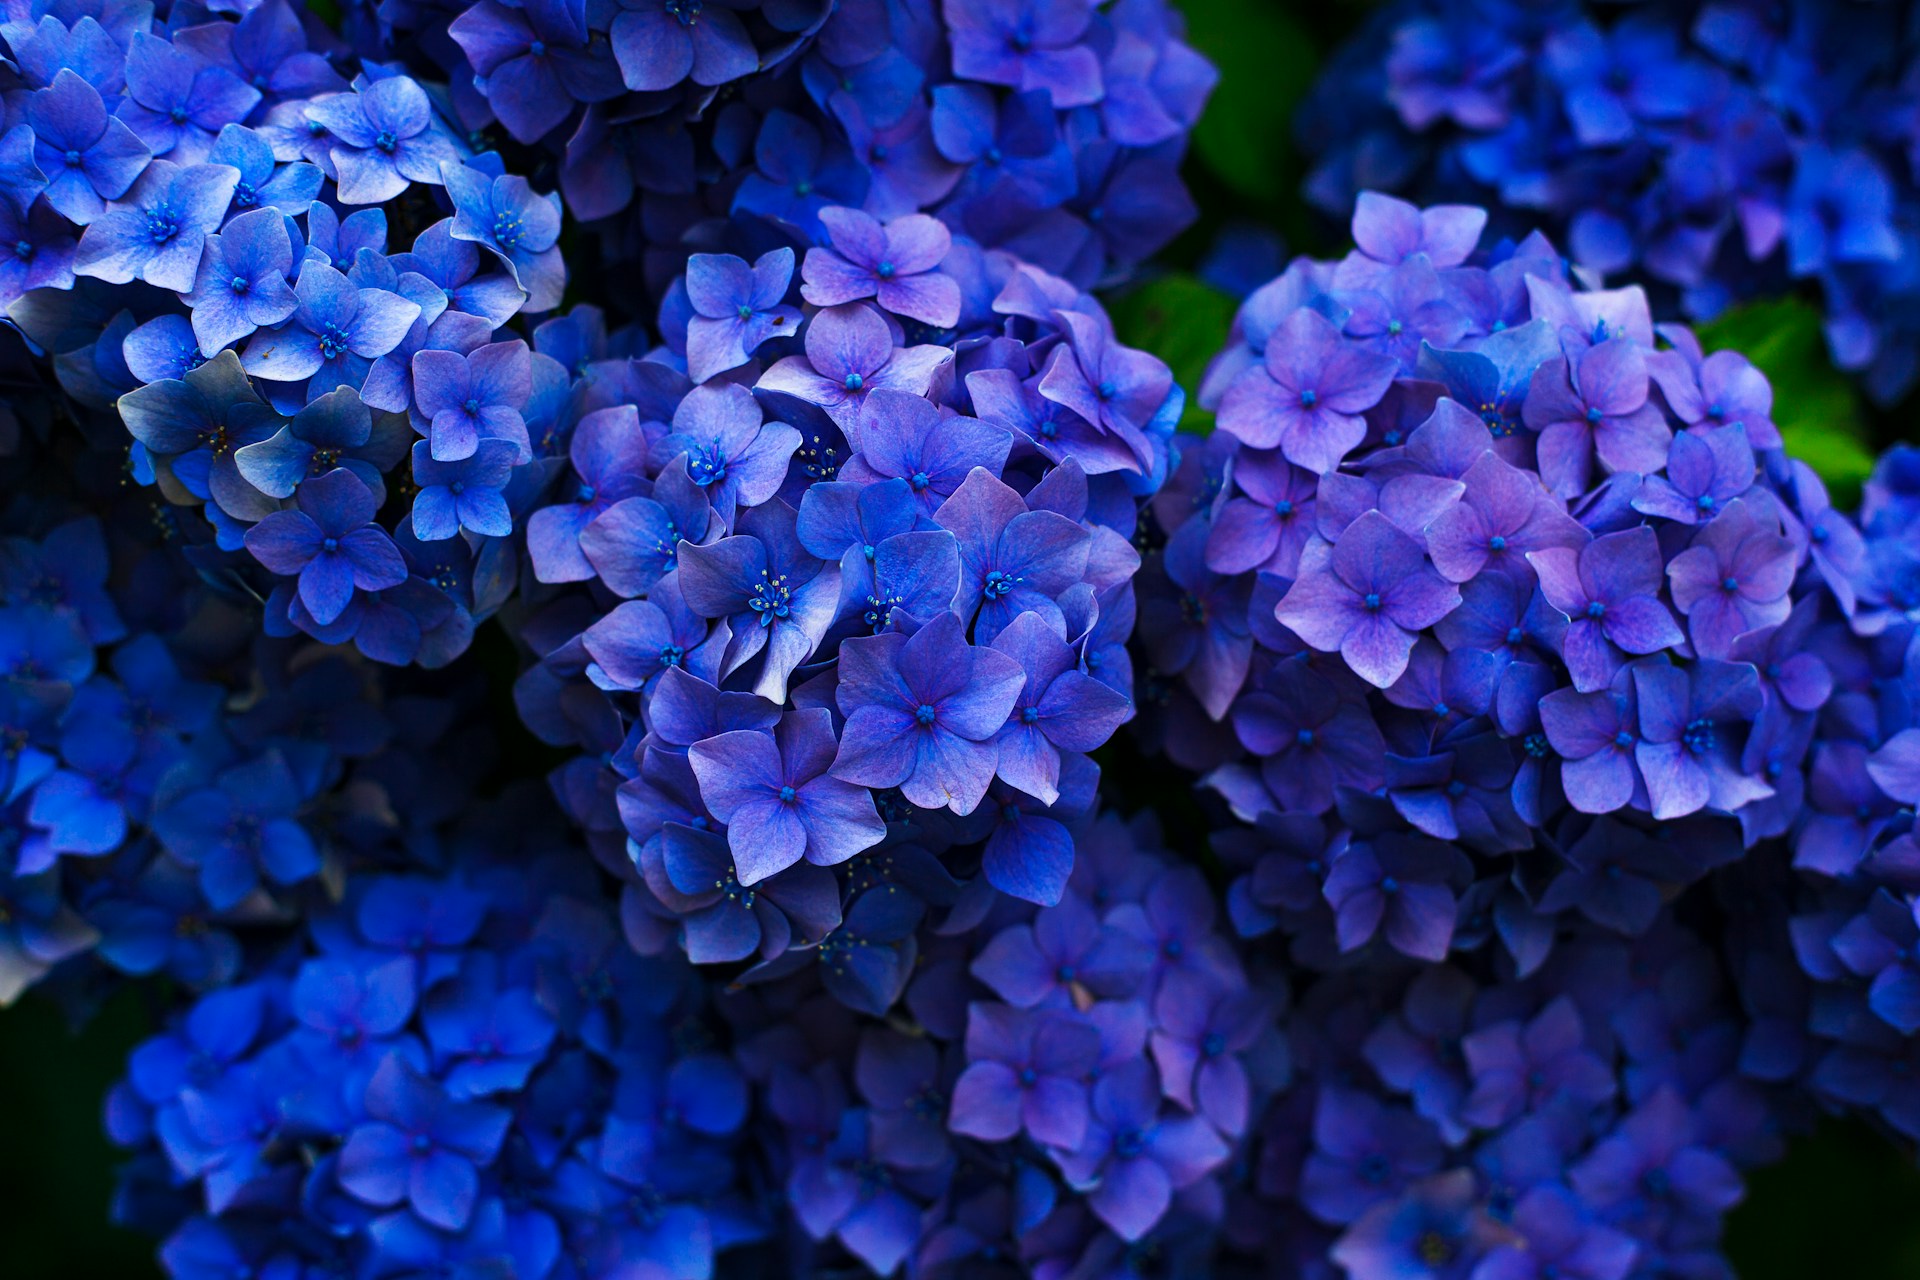
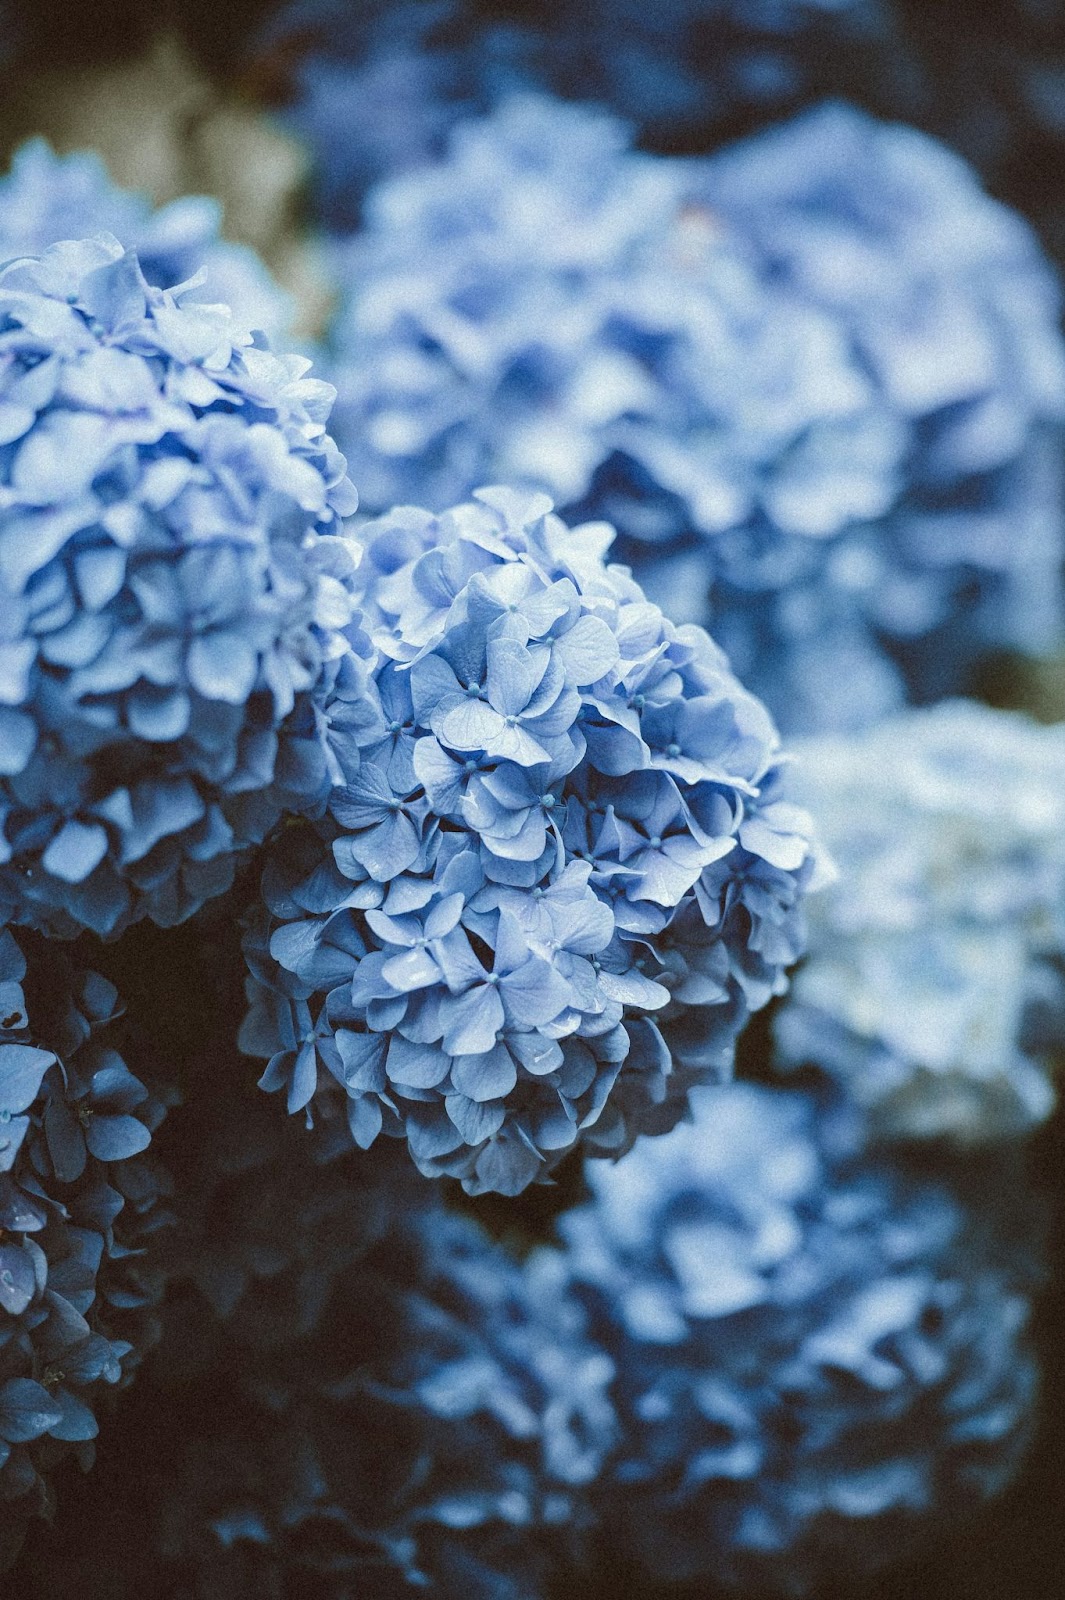
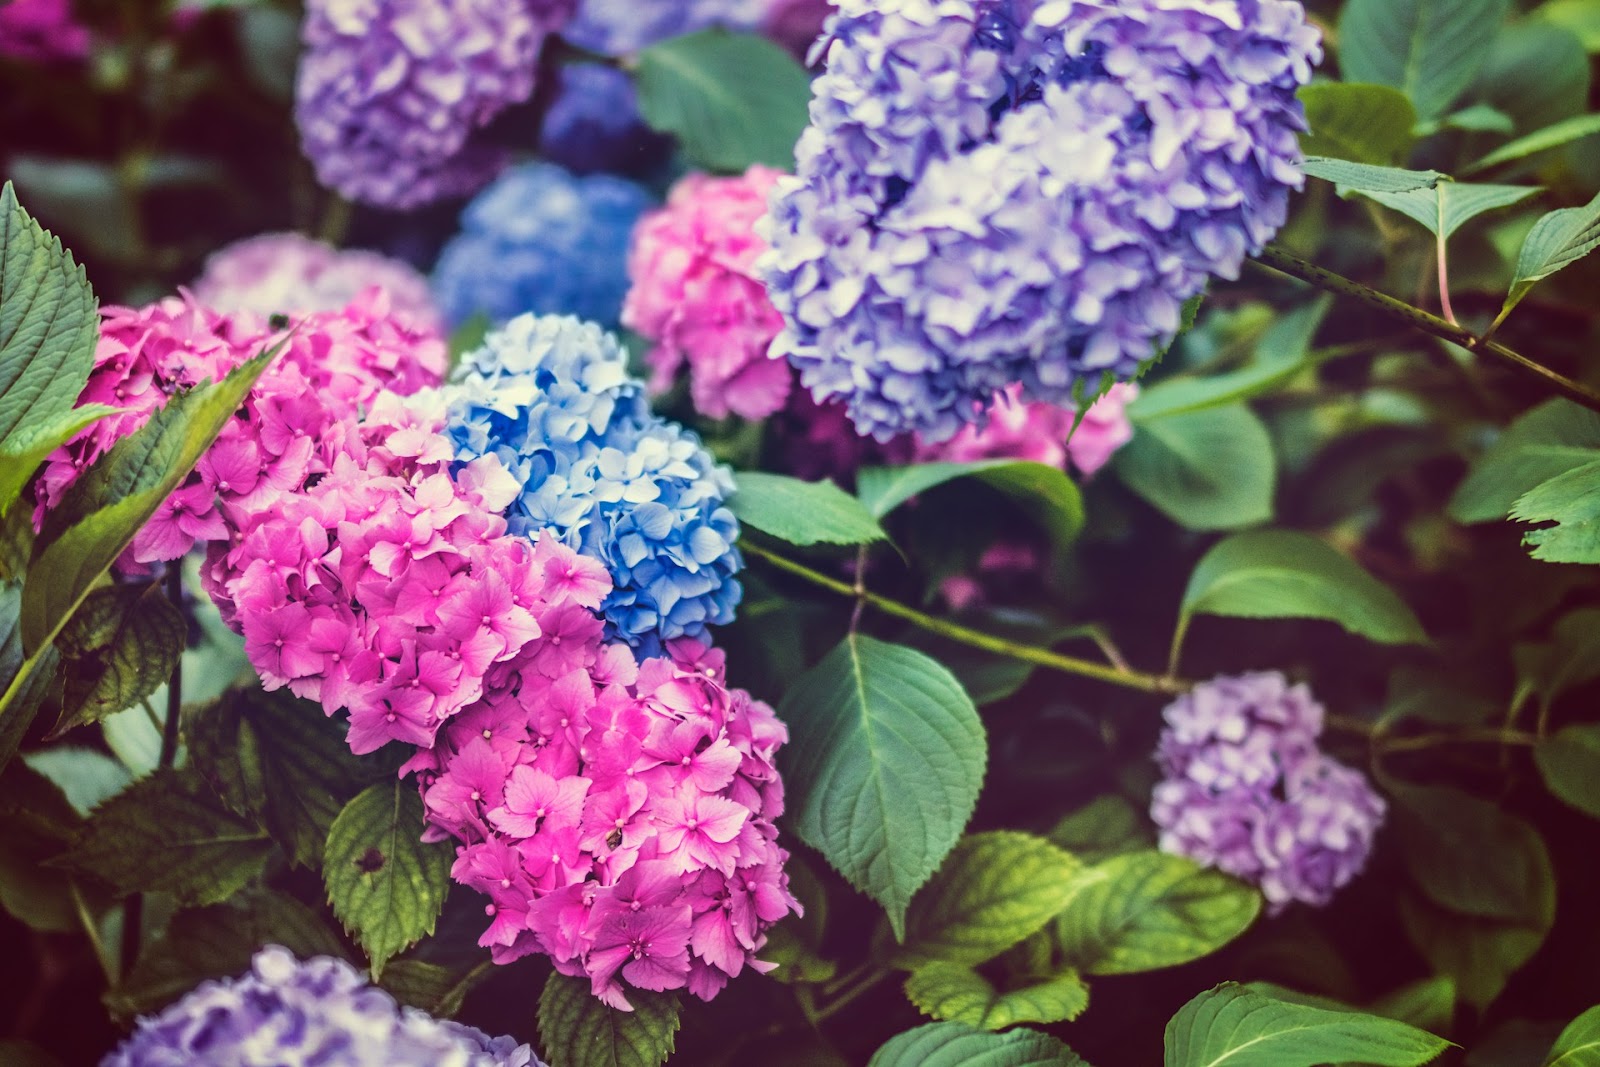
The pH level of the soil directly affects the color of hydrangea blooms. For blue flowers, the soil needs to be acidic (pH 5.2-5.5), while pink flowers thrive in slightly alkaline conditions (pH 6.0-6.2). If you prefer a specific bloom color, test your soil’s pH and amend it as needed. For blue flowers, you can add sulfur or aluminum sulfate. To encourage pink flowers, lime can be added to raise the soil pH.
Amending Soil
Over time, the nutrients in the soil can deplete. Refresh the soil mix every 2-3 years or when repotting. To maintain soil health, consider adding slow-release fertilizers or organic matter like compost annually. This practice ensures that your hydrangea continues to receive essential nutrients for robust growth and vibrant blooms.
Watering
Hydration is key to healthy, vibrant hydrangeas, especially in containers where the soil dries out faster.
Watering Frequency and Techniques:
The watering needs of potted hydrangeas vary depending on the season and climate. As a general rule, water thoroughly when the top inch of soil feels dry. During the hot summer months, this might mean daily watering. However, avoid letting the soil become soggy, as this can lead to root rot. The best technique is to water until water drains from the bottom, ensuring the entire root ball is moistened.
Signs of Overwatering and Underwatering
Overwatering can cause yellowing leaves and wilting, even though the soil is wet. It may also lead to root rot, characterized by a mushy texture and foul odor. Underwatering, on the other hand, results in dry, crispy leaves and a general lack of vitality in the plant. The leaves may also curl inward, indicating the plant is conserving water.

Seasonal Adjustments
Adjust your watering schedule based on the seasonal changes. In cooler weather or during the plant’s dormant phase in winter, reduce watering significantly. The soil should remain slightly moist but not wet. During active growth periods in spring and summer, increase watering frequency to support new growth and blooming.
Sunlight and Placement
Hydrangeas need the right amount of sunlight to thrive and produce vibrant blooms.
- Optimal Light Conditions
Most hydrangeas prefer morning sun and afternoon shade. This lighting condition provides enough sunlight for photosynthesis without the risk of leaf scorch from intense afternoon rays. However, some hydrangea varieties, like ‘Limelight,’ can tolerate more sun and may require more light to achieve their best bloom potential.
- Protecting from Harsh Afternoon Sun
If your hydrangea is exposed to harsh afternoon sun, consider moving the pot to a shadier location or providing some form of shade, such as a shade cloth or positioning the plant under a larger structure. This protection helps prevent leaf burn and wilting, especially during hot summer days.
- Indoor vs. Outdoor Placement
For indoor hydrangeas, place the pot near a bright window with indirect sunlight. Avoid direct sun, which can scorch the leaves. Outdoors, choose a location that receives partial sun to ensure optimal growth. Remember that indoor plants may require more frequent watering due to drier indoor air.
Fertilizing Your Hydrangea in Pots for Abundant Blooms
Proper fertilization encourages lush growth and abundant blooming in potted hydrangeas.
- Types of Fertilizers:
A balanced, slow-release fertilizer with an NPK ratio of around 10-10-10 is suitable for hydrangeas. Alternatively, you can use a specific hydrangea fertilizer that supports bloom production. Organic fertilizers like compost, fish emulsion, or seaweed extract are excellent options for those who prefer a natural approach.

- Fertilization Schedule:
Start fertilizing in early spring as new growth begins. Continue feeding every 4-6 weeks throughout the growing season, tapering off in late summer to allow the plant to prepare for dormancy. Avoid over-fertilizing, as this can lead to excessive foliage growth at the expense of blooms.
- Organic vs. Synthetic
Organic fertilizers release nutrients slowly and improve soil health over time, while synthetic fertilizers provide immediate nutrient availability. Both types have their advantages, and a combination of both can offer the best of both worlds. Organic fertilizers also support beneficial soil microorganisms, contributing to a healthier root environment.
Pruning Hydrangeas in Pots
Pruning is essential for maintaining the health and appearance of your potted hydrangea.
- When to Prune
The best time to prune hydrangeas in pots depends on the variety. For example, ‘Bigleaf’ (Hydrangea macrophylla) and ‘Oakleaf’ (Hydrangea quercifolia) varieties bloom on old wood and should be pruned immediately after flowering. In contrast, ‘Peegee’ (Hydrangea paniculata) and ‘Smooth’ (Hydrangea arborescens) hydrangeas bloom on new wood and can be pruned in late winter or early spring before new growth starts.
- Proper Techniques
When pruning, remove dead, diseased, or damaged wood first. For general maintenance, cut back to a pair of healthy buds. Avoid cutting back too much, as this can reduce the number of blooms. For larger varieties, thinning out some of the oldest stems at the base can improve air circulation and encourage new growth.
- Deadheading Tips
Removing spent blooms, or deadheading, encourages the plant to produce more flowers. For mophead hydrangeas, cut just above the first set of large leaves below the flower head. For lacecap varieties, cut just above a healthy bud. Deadheading also keeps the plant looking tidy and prevents the formation of seeds, allowing the plant to conserve energy.
Winter Care
Winter care is crucial for protecting your potted hydrangea from cold damage, especially in colder climates.
- Overwintering Strategies
Move the pot to a sheltered location, such as a garage, basement, or unheated sunroom, where temperatures remain above freezing. In milder climates, you can leave the pot outdoors but protect it with a burlap wrap or a blanket of leaves.
- Insulation Techniques
Insulate the pot to protect the roots from freezing temperatures. You can use bubble wrap, burlap, or even an old blanket. Another method is to dig a hole and bury the pot in the ground, which provides natural insulation.
- Spring Revival
As temperatures rise in the spring, gradually reintroduce your hydrangea to outdoor conditions. Start by placing the pot in a shaded area and gradually move it to a sunnier spot. This process helps the plant acclimate and reduces the risk of shock from sudden temperature changes.
Troubleshooting Common Potted Hydrangea Problems
Even with proper care, potted hydrangeas can encounter various issues. Identifying and addressing these problems promptly can save your plant.
- Pest Infestations
Common pests include aphids, spider mites, and scale insects. Signs of infestation include sticky residue on leaves, webbing, or discolored spots. Treat these pests with insecticidal soap or neem oil. For severe infestations, you may need to use a stronger pesticide. Regularly inspecting your plant and maintaining good air circulation can prevent many pest problems.
- Leaf Discoloration and Wilting
Leaf discoloration can result from nutrient deficiencies, improper watering, or disease. Yellow leaves may indicate nitrogen deficiency, while chlorosis (yellowing between leaf veins) often signals iron deficiency. Correct nutrient imbalances with appropriate fertilizers. Wilting can occur from both overwatering and underwatering; check the soil moisture and adjust your watering practices accordingly.
- Bloom Issues
If your hydrangea isn’t blooming, it could be due to several factors, including improper pruning, insufficient sunlight, or nutrient deficiencies. Ensure you’re pruning at the correct time for your hydrangea variety. If the plant isn’t getting enough sunlight, try moving it to a brighter location. Lack of blooms can also result from too much nitrogen, which promotes foliage growth over flowers. Balance your fertilization to support blooming.
How To Aerate The Soil In A Potted Plant
Conclusion
Caring for hydrangeas in pots can be incredibly rewarding, offering vibrant blooms and lush foliage. By following these expert tips, you’ll be well on your way to enjoying beautiful potted hydrangeas throughout the season. Whether you’re a patio gardener or an indoor plant enthusiast, this guide provides everything you need to know for successful hydrangea care. Happy gardening!