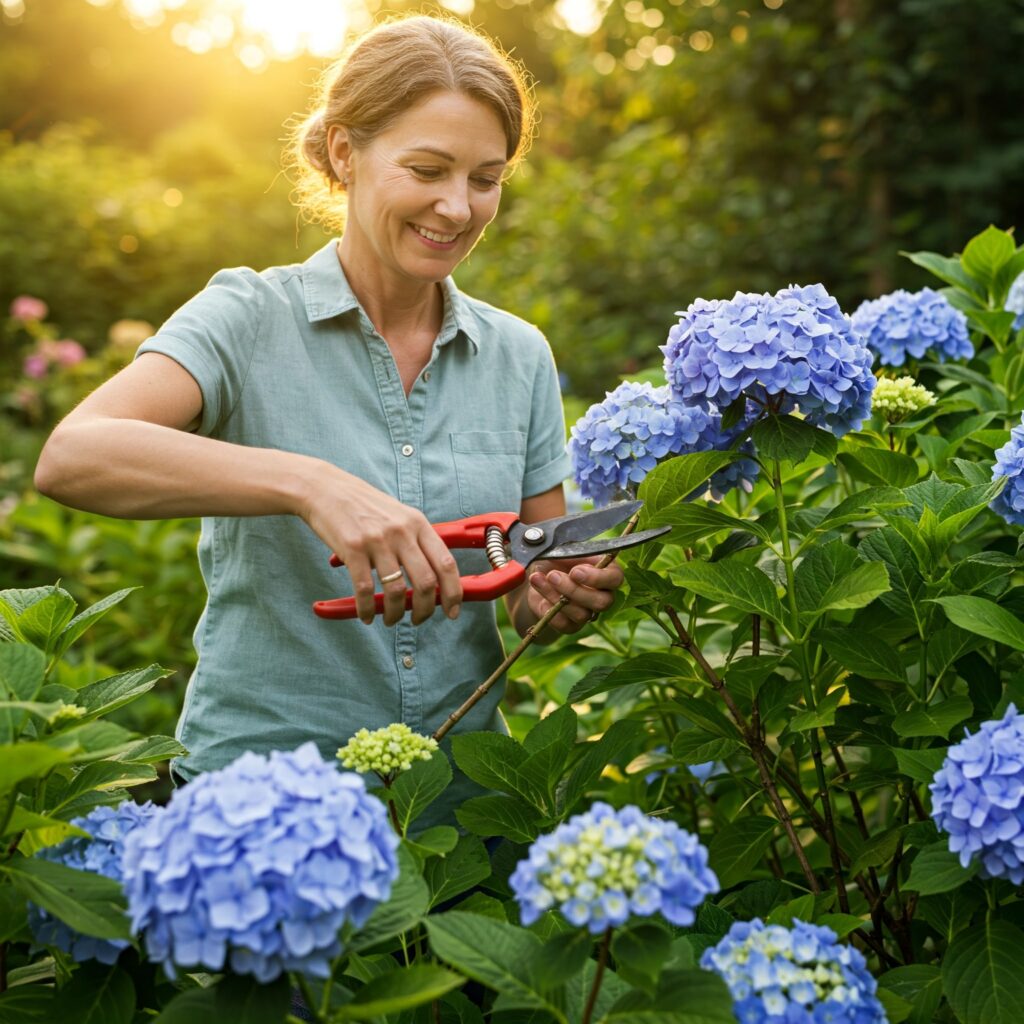
Hydrangeas are among the most beloved flowering shrubs in gardens around the world, known for their lush blooms and vibrant color variations. Whether you love the classic pinks and blues or the elegant whites and purples, one hydrangea plant is often never enough.
Fortunately, you don’t need to buy more plants to fill your garden. Propagating is an easy and inexpensive alternative. Learning how to grow hydrangea plants from cuttings gives you the ability to replicate your favorite plants and expand your garden effortlessly.
In this guide, we’ll take you step by step through the entire process, from choosing the right stems to transplanting successfully rooted cuttings.
Introduction to Growing Hydrangeas from Cuttings
Propagating hydrangeas from cuttings is a simple gardening technique that allows you to reproduce new plants from an existing one. This method is ideal for gardeners who want to create uniform plants, share their favorites with friends, or simply save on nursery costs. When you propagate through cuttings, you’re essentially cloning the parent plant, which means the new hydrangea will have the same bloom color, shape, and growth habits.
The best time to take hydrangea cuttings is during the late spring to early summer period. During this time, hydrangeas are actively growing, and the stems are still soft and pliable; perfect conditions for successful propagation. These young stems, known as softwood, root more easily than older, woody branches and respond well to rooting hormone.
The general process of propagating hydrangeas from cuttings involves taking a suitable cutting, preparing it correctly, planting it in the right growing medium, and maintaining proper care until roots develop. Once the roots are strong, the new plant can be transplanted into the garden or a larger pot for further growth.
Choosing the Right Type of Hydrangea for Propagation
Not all hydrangea species respond the same way to propagation by cuttings, so choosing the right type can make a big difference in your success rate.

The most common and suitable hydrangea types for propagation include;
- Hydrangea macrophylla (commonly known as bigleaf hydrangeas),
- Hydrangea paniculata (panicle hydrangeas),
- Hydrangea quercifolia (oakleaf hydrangeas).
Bigleaf hydrangeas are especially popular due to their showy blooms and ease of propagation. They are ideal for beginners who are learning how to grow hydrangea plants from cuttings. Panicle hydrangeas, known for their conical flower heads and tolerance to full sun, can also be propagated, although they sometimes root more slowly than bigleaf varieties. Oakleaf hydrangeas, with their unique foliage and cone-shaped blooms, require a bit more patience but can be successfully grown from cuttings with the right care.
Regardless of the type, it’s essential to start with a healthy parent plant. Avoid using stems from plants that are wilting, diseased, or stressed. The healthier the plant, the more likely your cutting will root and thrive.
Tools and Materials Needed
Before diving into the propagation process, gather all the necessary tools and materials. Having everything ready will make the process smoother and help maintain the cleanliness and health of your cuttings. At a minimum, you’ll need a pair of clean pruning shears or a sharp knife to make precise cuts. Disinfect your tools before and after use to prevent the spread of disease.
You’ll also need small containers or pots for planting the cuttings, as well as a rooting medium. A sterile mix of peat moss and perlite or vermiculite works well because it provides both aeration and moisture retention. Avoid using garden soil, which may be too dense and could introduce pests or disease.
Although optional, rooting hormone is highly recommended. It encourages faster and stronger root development, especially for cuttings taken from semi-hardwood stems. A spray bottle is also useful for misting the cuttings to maintain humidity. To trap moisture and create a mini greenhouse environment, you can use a clear plastic bag, a plastic container, or a dedicated humidity dome. A heat mat can also be beneficial if you’re propagating in cooler indoor conditions.
How to Take Hydrangea Cuttings Properly
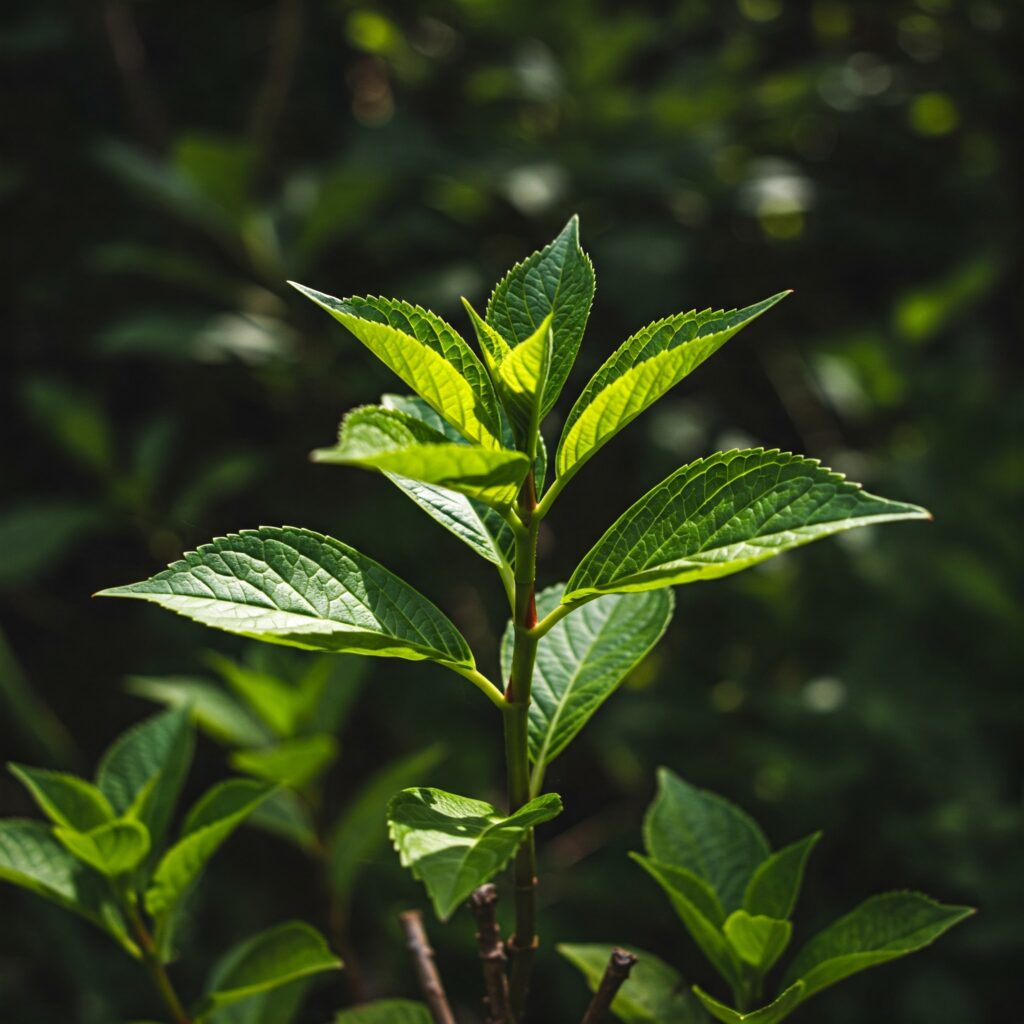
The success of your propagation journey begins with taking the right type of cutting. When selecting a stem, look for new growth that is soft, green, and free of any flowers. Flowering stems often divert energy toward bloom production rather than root development, making them less ideal for propagation.
Use your sterilized shears to take a cutting that is approximately four to six inches long. Make the cut just below a leaf node: the point on the stem where leaves emerge; because this is where new roots will form. Once you’ve taken your cutting, remove the leaves from the bottom half of the stem to reduce moisture loss and prevent leaves from sitting in the soil, where they might rot.
If the remaining leaves are large, especially in bigleaf hydrangeas, you can trim them in half. This step minimizes water loss through transpiration while still allowing the cutting to photosynthesize.
Preparing the Cuttings for Planting
Once your cutting is prepared, rinse it gently under clean water to remove dirt and any insects. This also ensures that the cut is fresh and ready to absorb water and nutrients. Dip the bottom of the cutting into rooting hormone powder or gel, tapping off any excess. The hormone not only stimulates root growth but also protects the cut surface from disease.
It’s important to keep the cutting moist throughout this stage. If you’re preparing multiple cuttings, place them temporarily in a container of water until you’re ready to plant them. Avoid letting the stems dry out, as this can significantly reduce the likelihood of successful rooting.
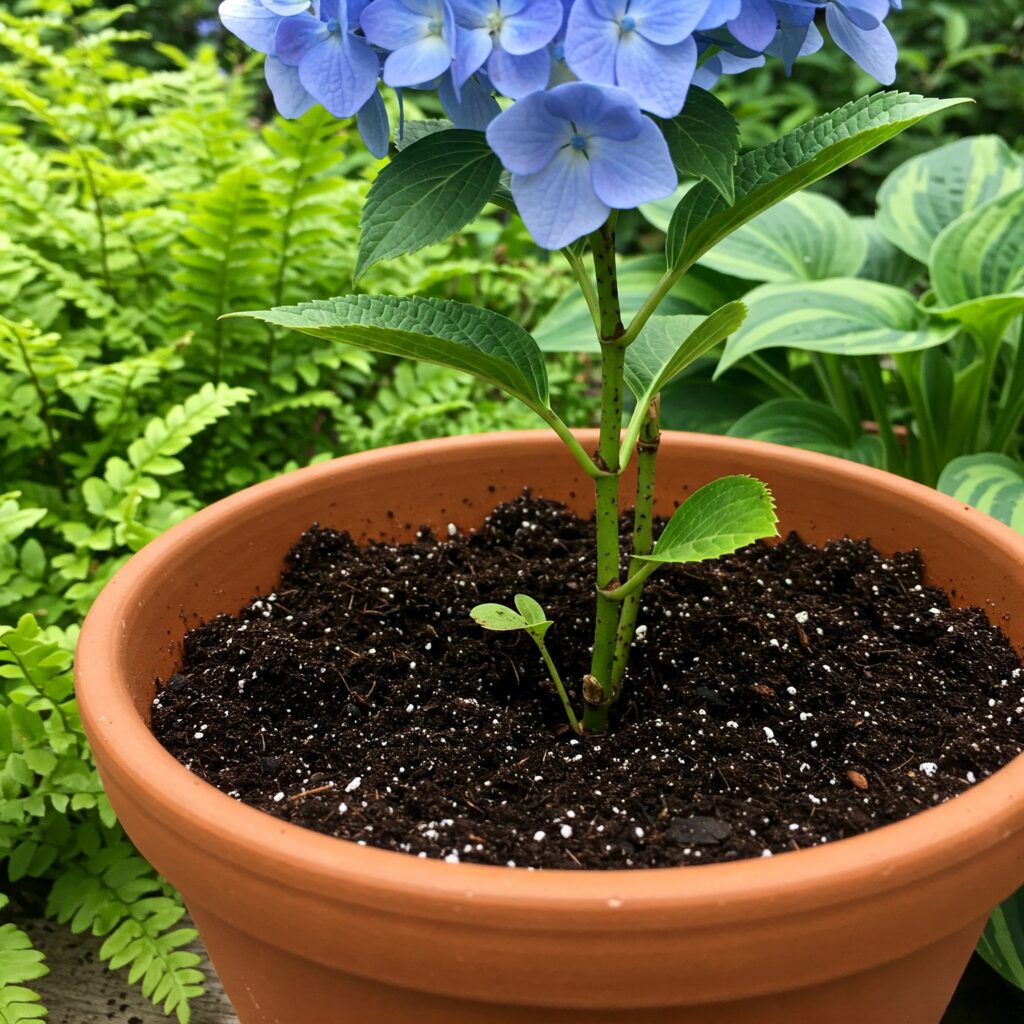
Planting the Cuttings
Choose a small pot filled with your pre-moistened, well-draining rooting mix. Use a pencil or stick to poke a hole into the soil, then insert the cutting, ensuring that at least one node is buried. Firm the soil gently around the cutting to remove air pockets and stabilize the stem.
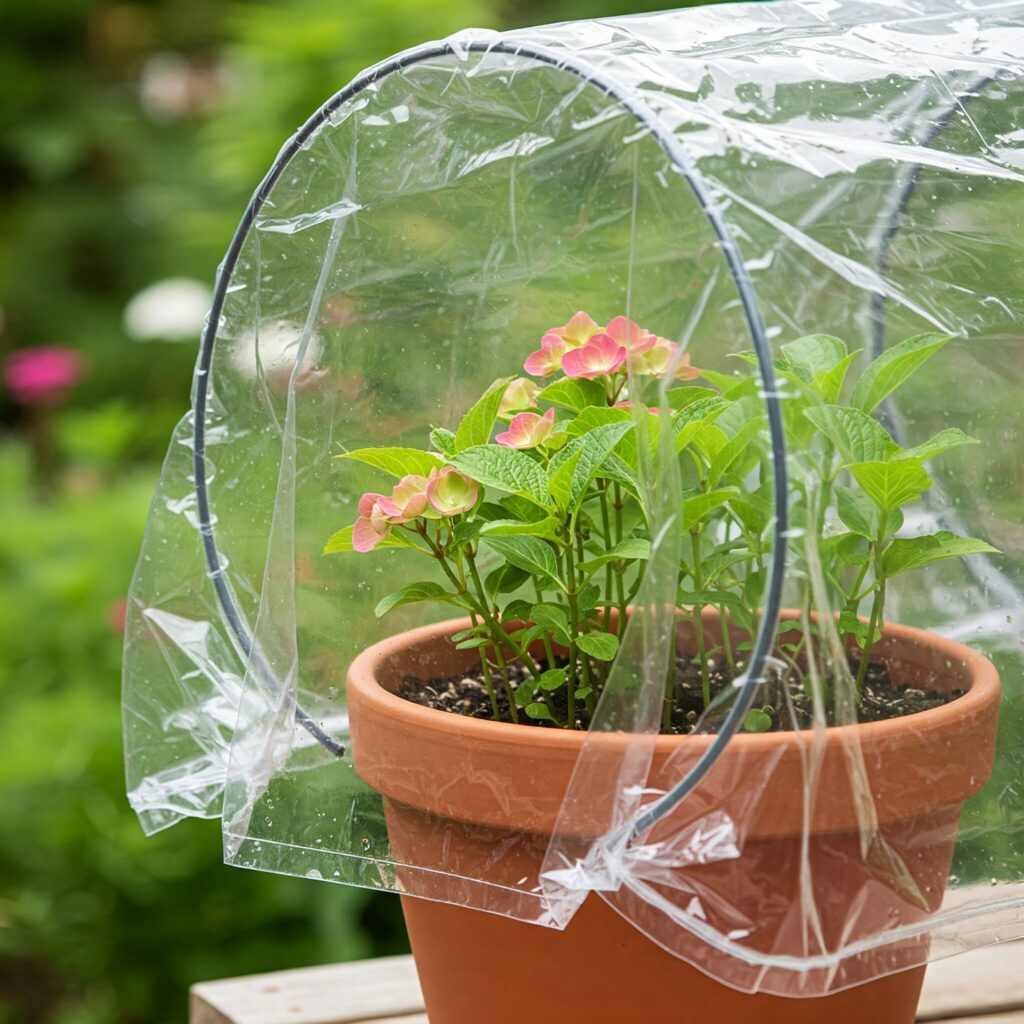
To maintain humidity, cover the pot with a clear plastic bag or place it under a humidity dome. Make sure the covering doesn’t touch the leaves; you can use sticks or wire to hold it up if necessary. Place the container in a warm, bright area that receives indirect sunlight; direct sun can scorch the tender cutting and dry it out.
Caring for the Cuttings During Rooting Stage
Your cuttings will now enter the rooting phase, which typically lasts between two and four weeks. During this time, keep the soil consistently moist but not soggy. Mist the inside of the plastic covering regularly to maintain high humidity, which helps prevent wilting.
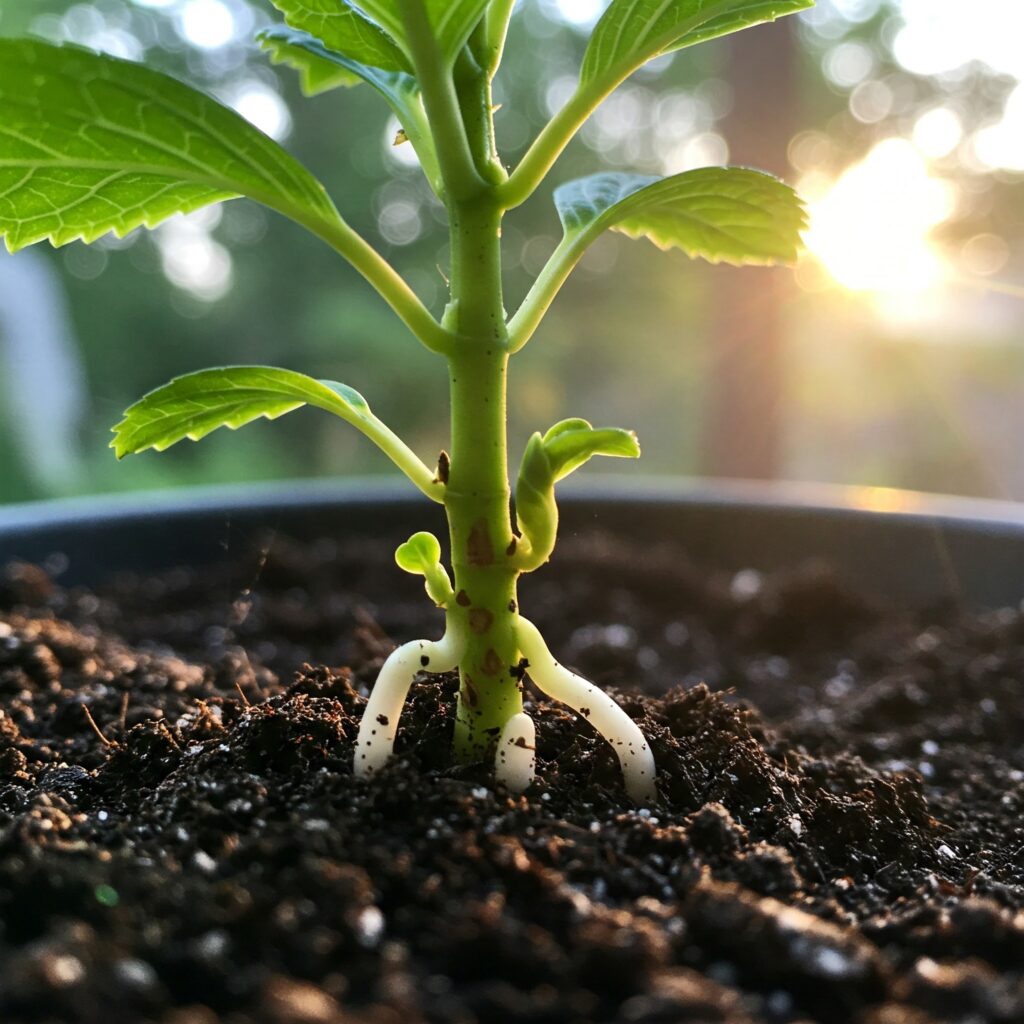
Hydrangea cuttings root best at temperatures between 65°F and 75°F (18°C to 24°C). If the temperature is too low, root development may be slow or unsuccessful. You can check on the cuttings by gently tugging after a couple of weeks, if there is resistance, roots are likely forming. Visible new growth is another good indicator of successful rooting.
Transplanting Rooted Hydrangea Cuttings
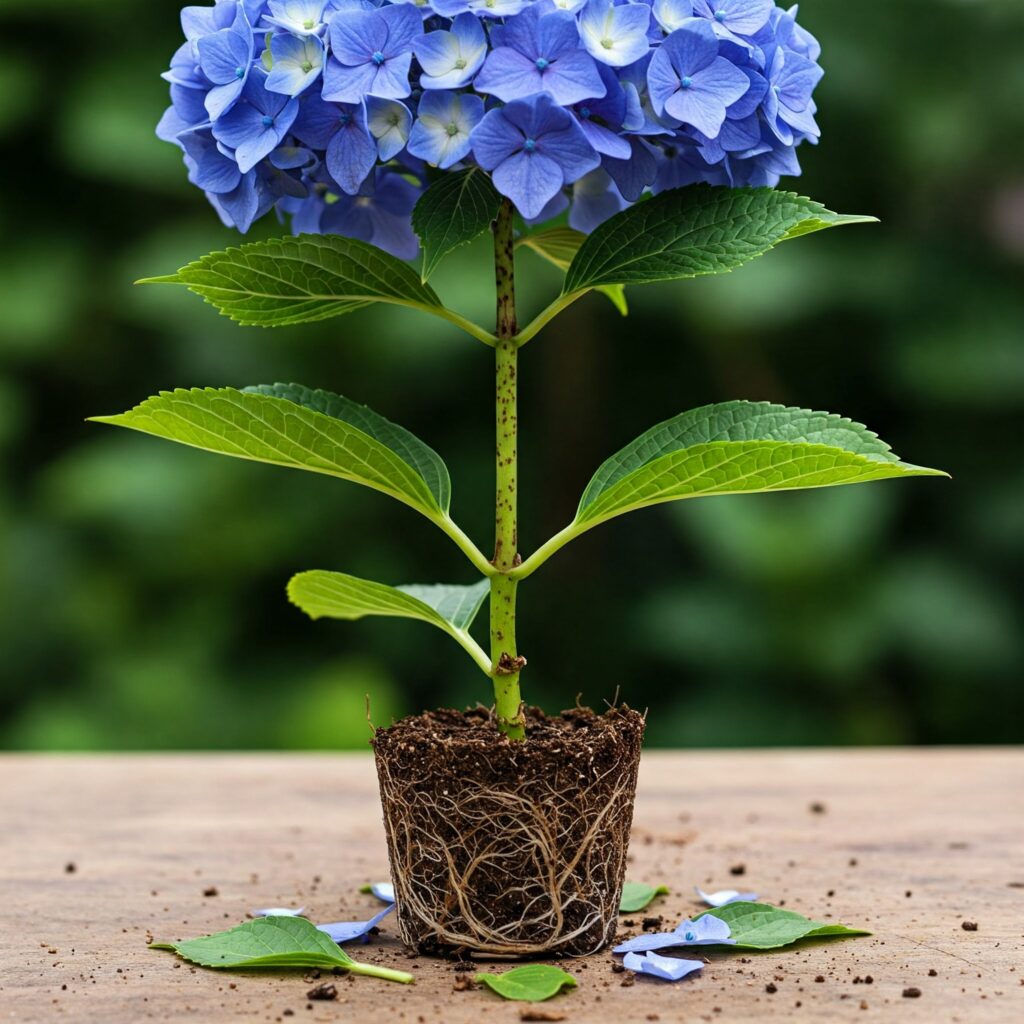
Once your cuttings have developed a healthy root system, usually about 1–2 inches long, it’s time to prepare them for transplanting. Carefully remove the plastic cover and begin the hardening-off process. This involves gradually introducing the young plant to outdoor conditions by placing it outside for a few hours each day over the course of a week.
After hardening off, transplant your rooted hydrangea into a larger container or directly into the garden. Choose a location with partial shade and rich, well-drained soil. Water the plant thoroughly after transplanting and keep an eye on soil moisture as it adjusts to its new environment.
Common Problems and Troubleshooting Tips
While growing hydrangea plants from cuttings is relatively simple, it’s not without challenges. One common issue is root rot, which usually results from overwatering or using a soil mix that retains too much moisture. Always use a well-draining medium and allow the top layer of soil to dry slightly between watering.
If your cuttings wilt or collapse, it could be due to low humidity, poor stem selection, or too much direct sunlight. Make sure to create a stable, humid environment and start with healthy, non-flowering stems.
Fungal infections can also occur, particularly in overly humid or poorly ventilated setups. To prevent this, maintain cleanliness, avoid overcrowding cuttings, and consider applying a light fungicide spray if necessary.
If your cuttings fail to root, don’t be discouraged. Try again using a different part of the plant or slightly adjusting your technique. Propagation is as much an art as it is a science, and each attempt teaches you something new.
Conclusion
Learning how to grow hydrangea plants from cuttings is a rewarding skill that allows you to multiply your favorite shrubs with ease. By following the steps outlined above, selecting the right stems, preparing them carefully, and providing the proper care, you can propagate hydrangeas successfully and enjoy their stunning blooms in multiple areas of your garden.
So next time you prune your hydrangea, save a few stems and give propagation a try. You might be surprised at how easy and enjoyable it is to create new life from your existing plants. Have you propagated hydrangeas before? We’d love to hear about your experience in the comments below!
FAQ: Growing Hydrangeas from Cuttings
How long does it take to grow hydrangeas from cuttings?
It typically takes two to four weeks for hydrangea cuttings to develop roots, depending on temperature, humidity, and stem quality.
Do hydrangea cuttings need rooting hormone?
While not strictly necessary, using rooting hormone significantly improves the chances of successful rooting, especially for semi-hardwood cuttings.
Can I root hydrangea cuttings in water?
Yes, hydrangeas can root in water, but soil-based propagation often leads to stronger, more stable root systems that transition better to garden conditions.
What’s the best time of year to take hydrangea cuttings?
Late spring to early summer is ideal, as plants are actively growing and softwood stems root more easily than woody ones.
7 Essential Tips for Growing Healthy Chili Plants in Pots
How To Water a Monstera Plant (Watering Schedule For Monstera)